
How to Take Better Travel Photos of Yourself (12 Tips)
I’ve taken so many travel photos of myself over the 15 years I’ve been a travel blogger, I much prefer my shots to anyone else’s! Here are a few tips I’ve picked up along the way to take better travel photos I don’t hate.
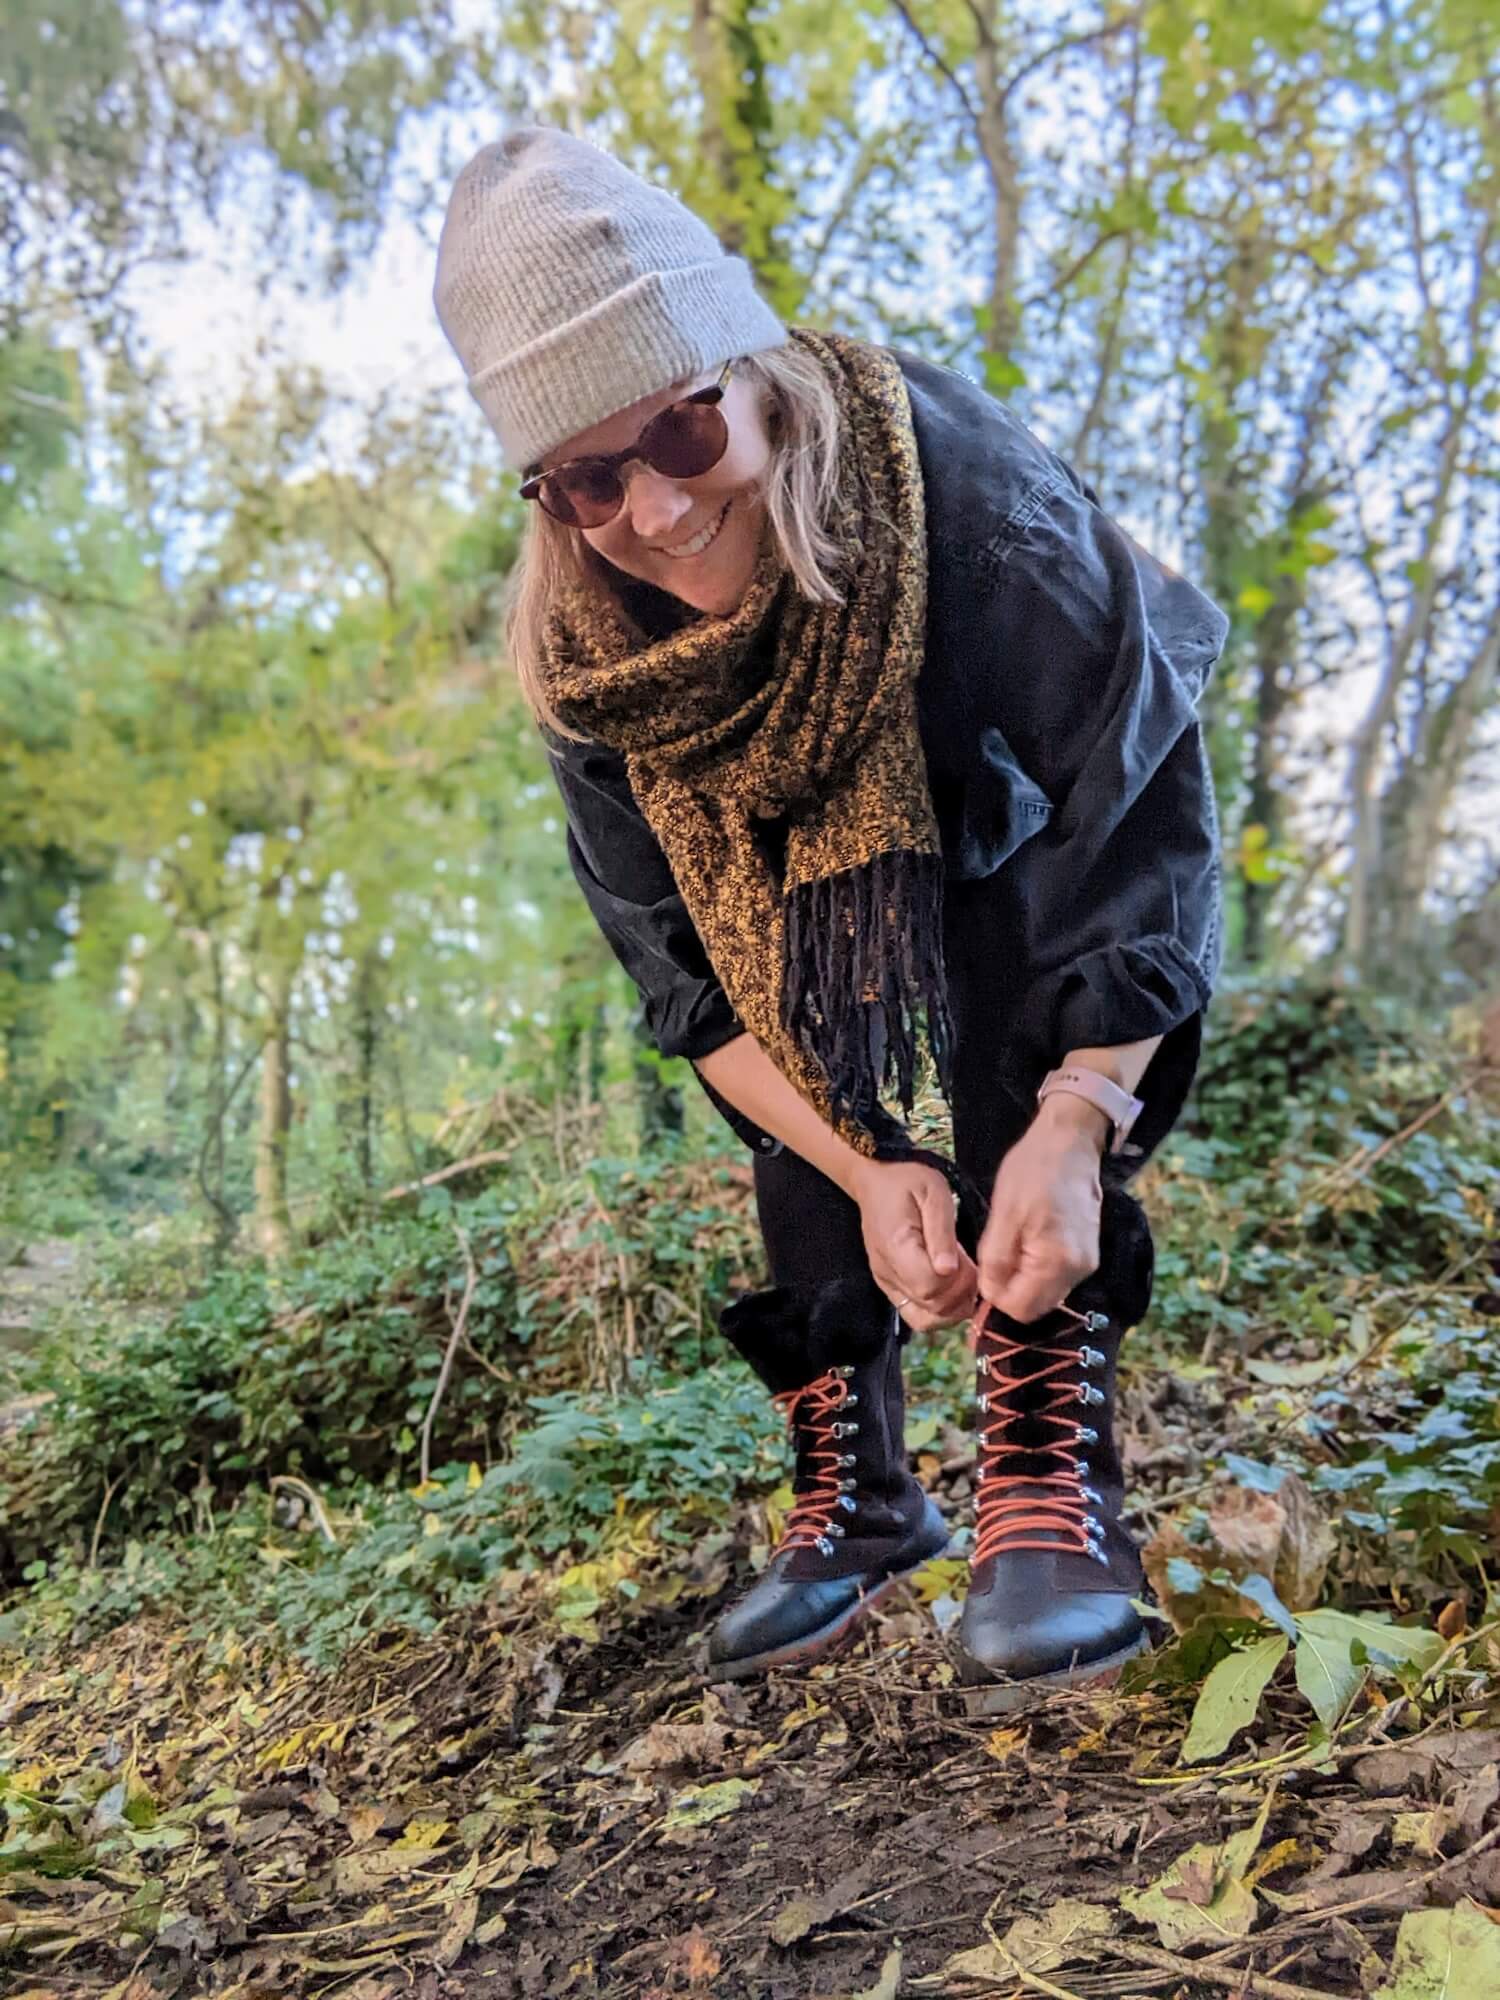
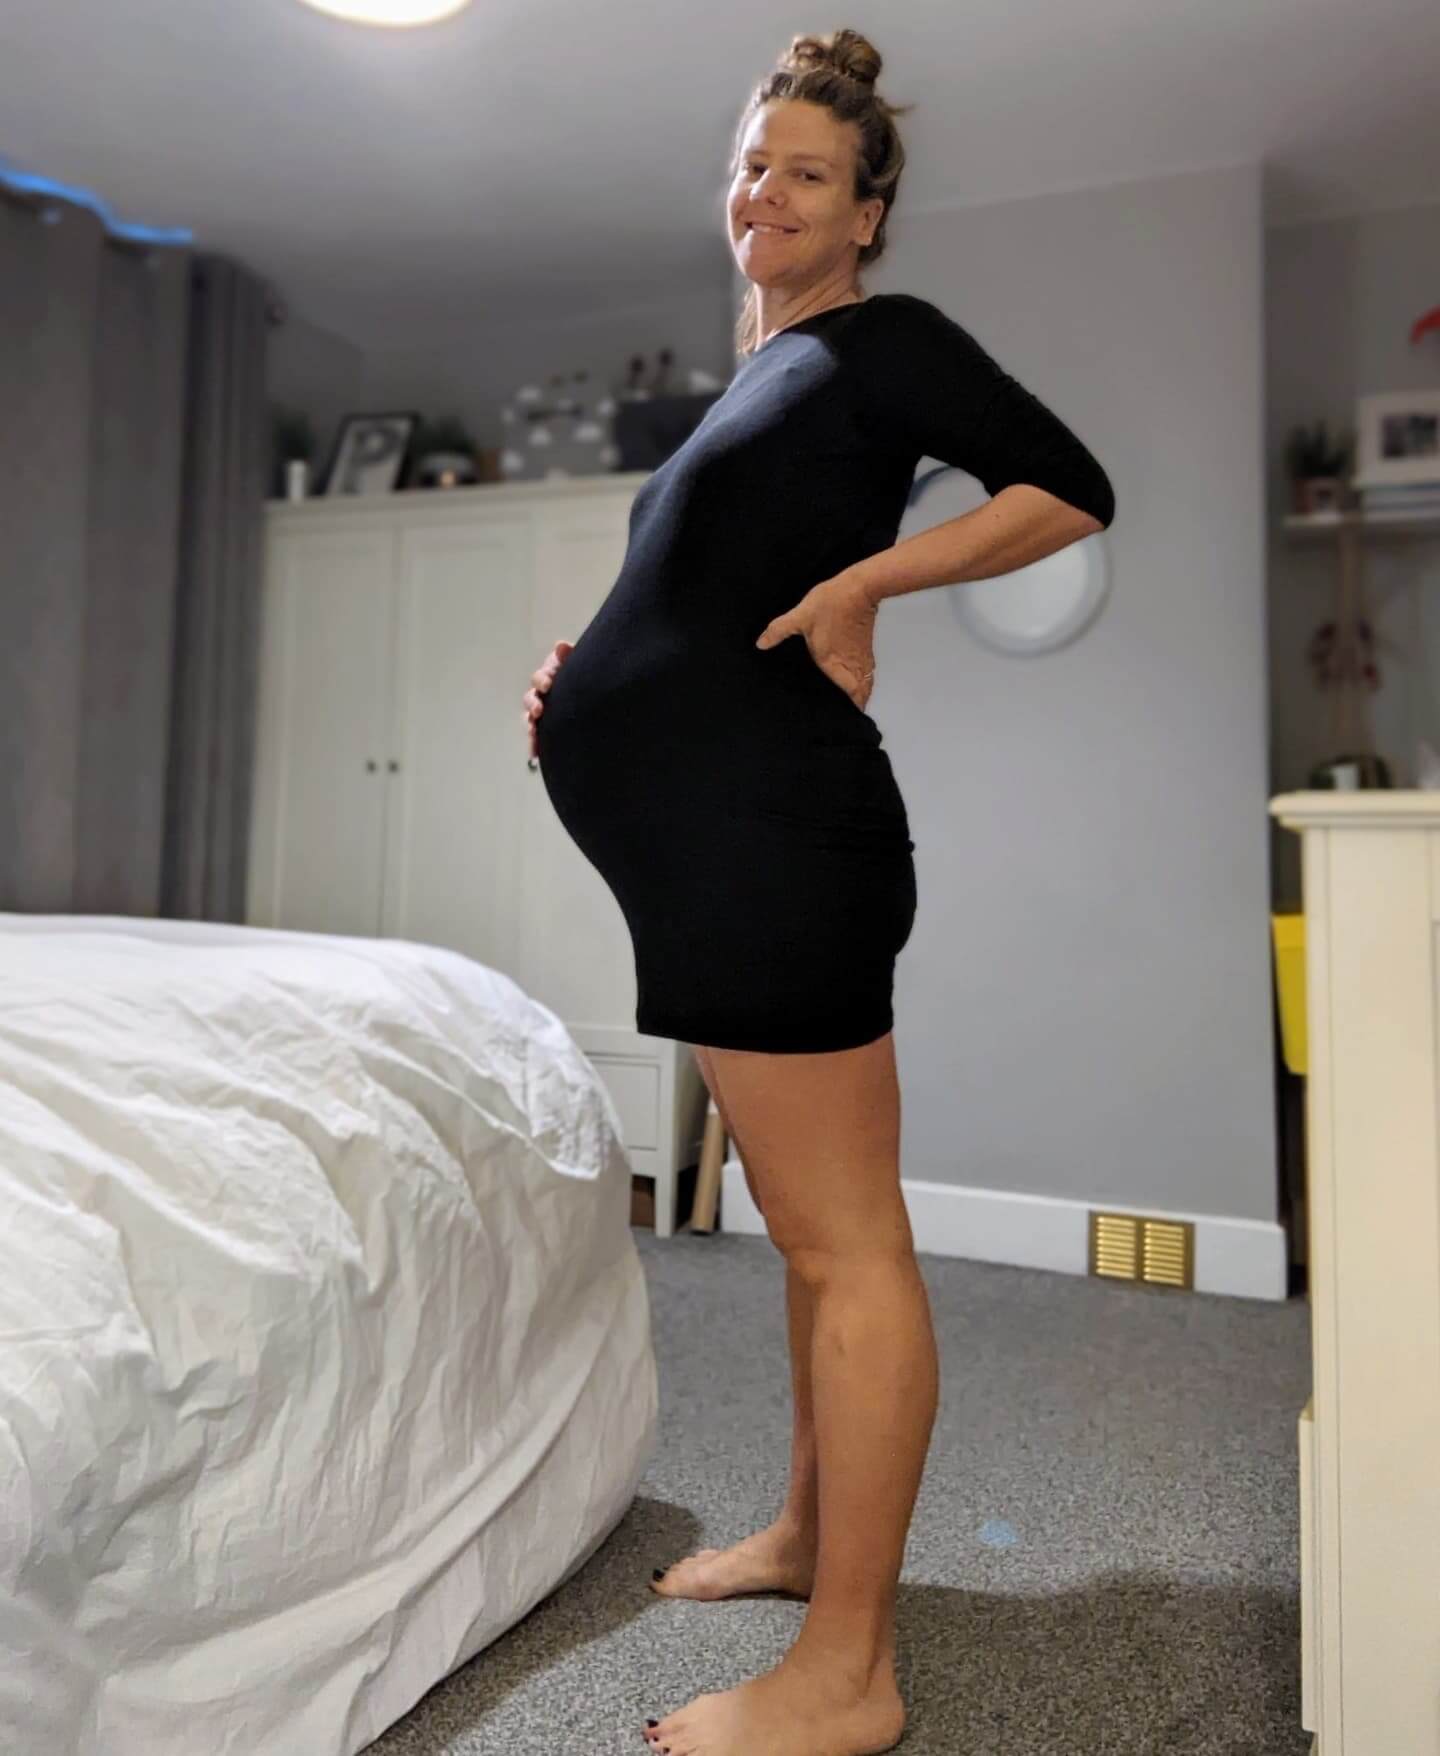
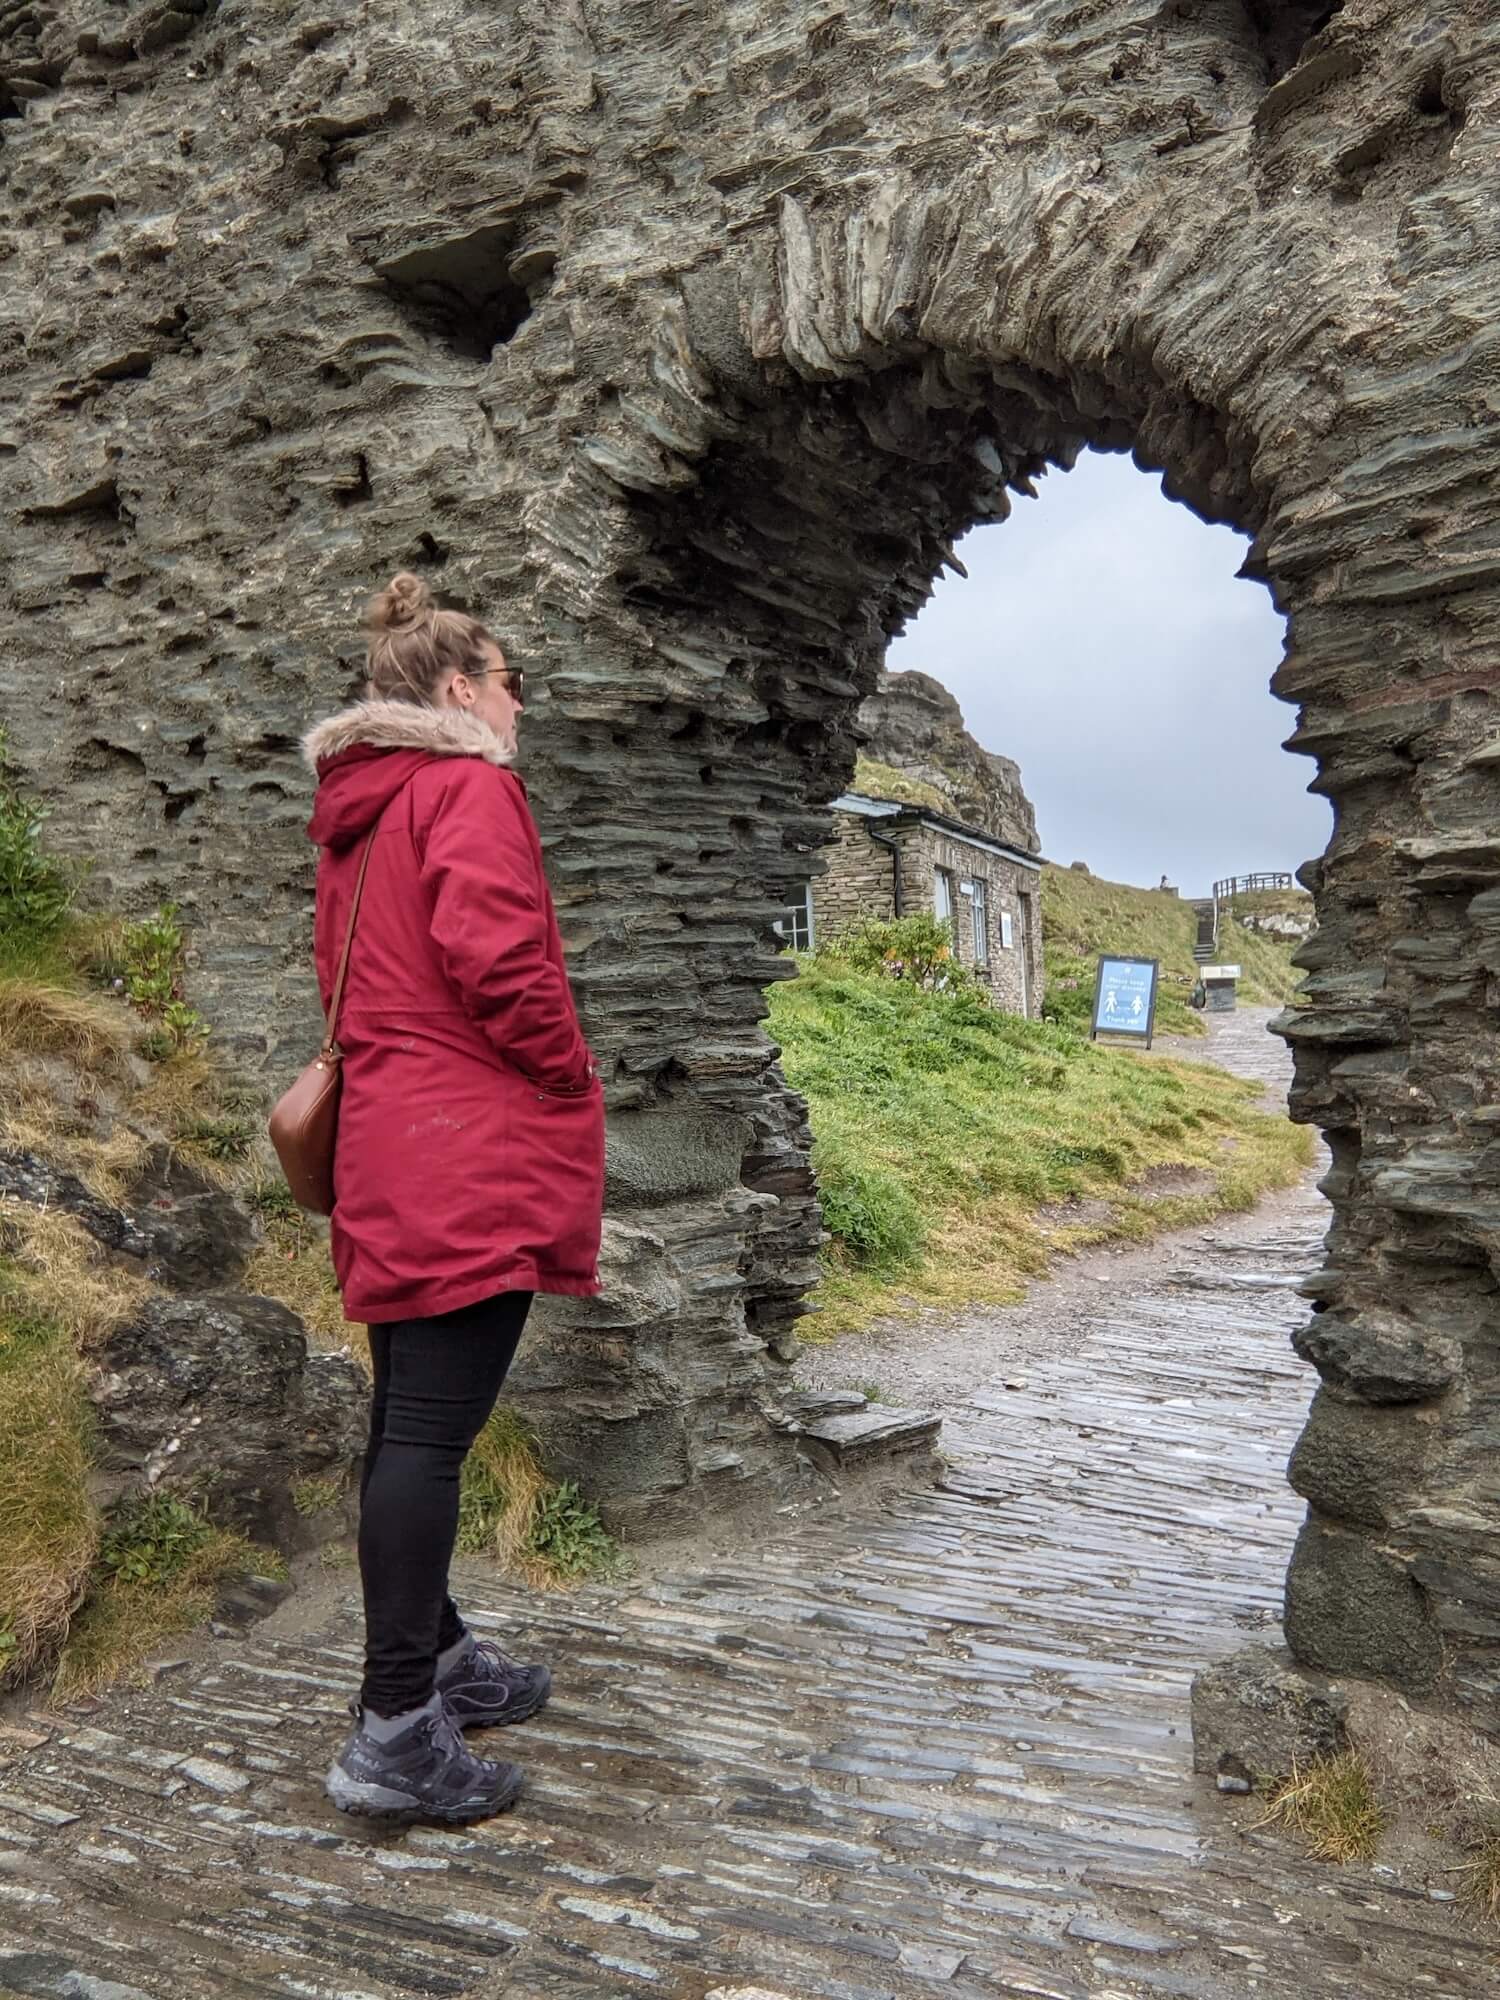
I can’t remember the last time I asked a stranger to take a photo, I just know I won’t like it. I know my angles, and I’d rather just take them of myself. I can see that I’m too awkward on any a stranger takes. I can see my awkwardness staring back in the photo.
Even if I ask a friend I feel like I’m really putting them out and just want to rush it, so I don’t generally like those either. I just look super uncomfortable.
Most of my favourite travel photos of myself were taken using simple tricks rather than expensive equipment. So, here’s a few tricks to help you take better travel photos of yourself to remember your adventures.
1. Time the light
Light is the biggest difference between a photo you love and one you immediately delete.
Whenever possible, head out during golden hour. That’s the hour after sunrise or before sunset, when the light is soft, warm and flattering. It smooths out shadows, gives your skin a lovely glow and makes landscapes look far more magical than they do in the middle of the day.
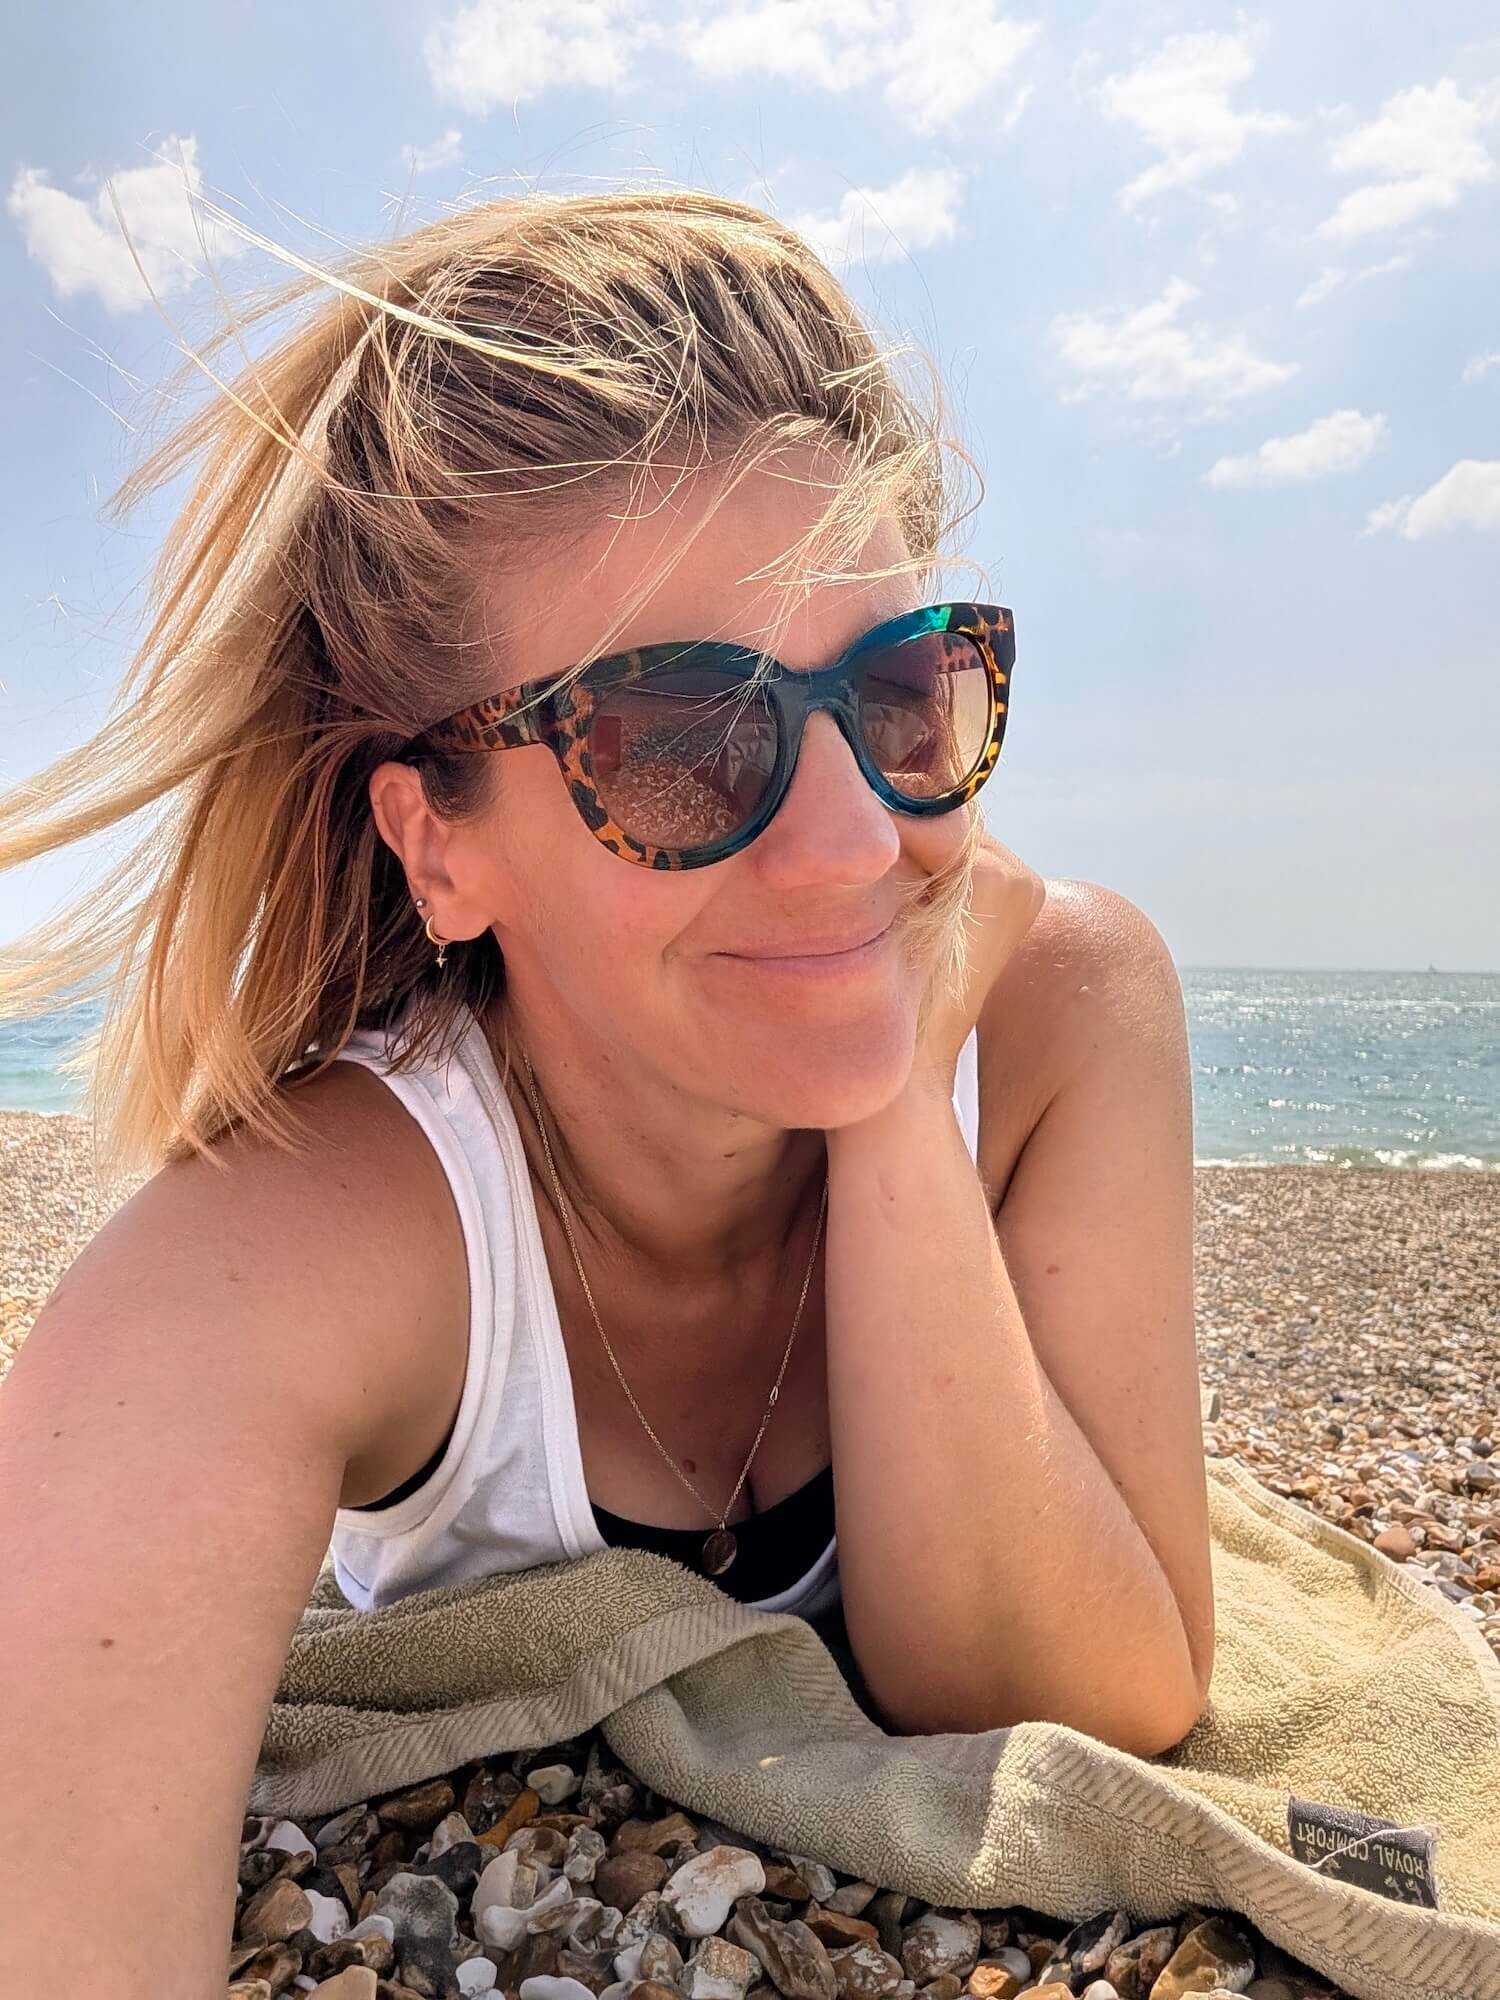
The exact time changes depending on where you are and the season, so it’s worth checking a weather app before you head out.
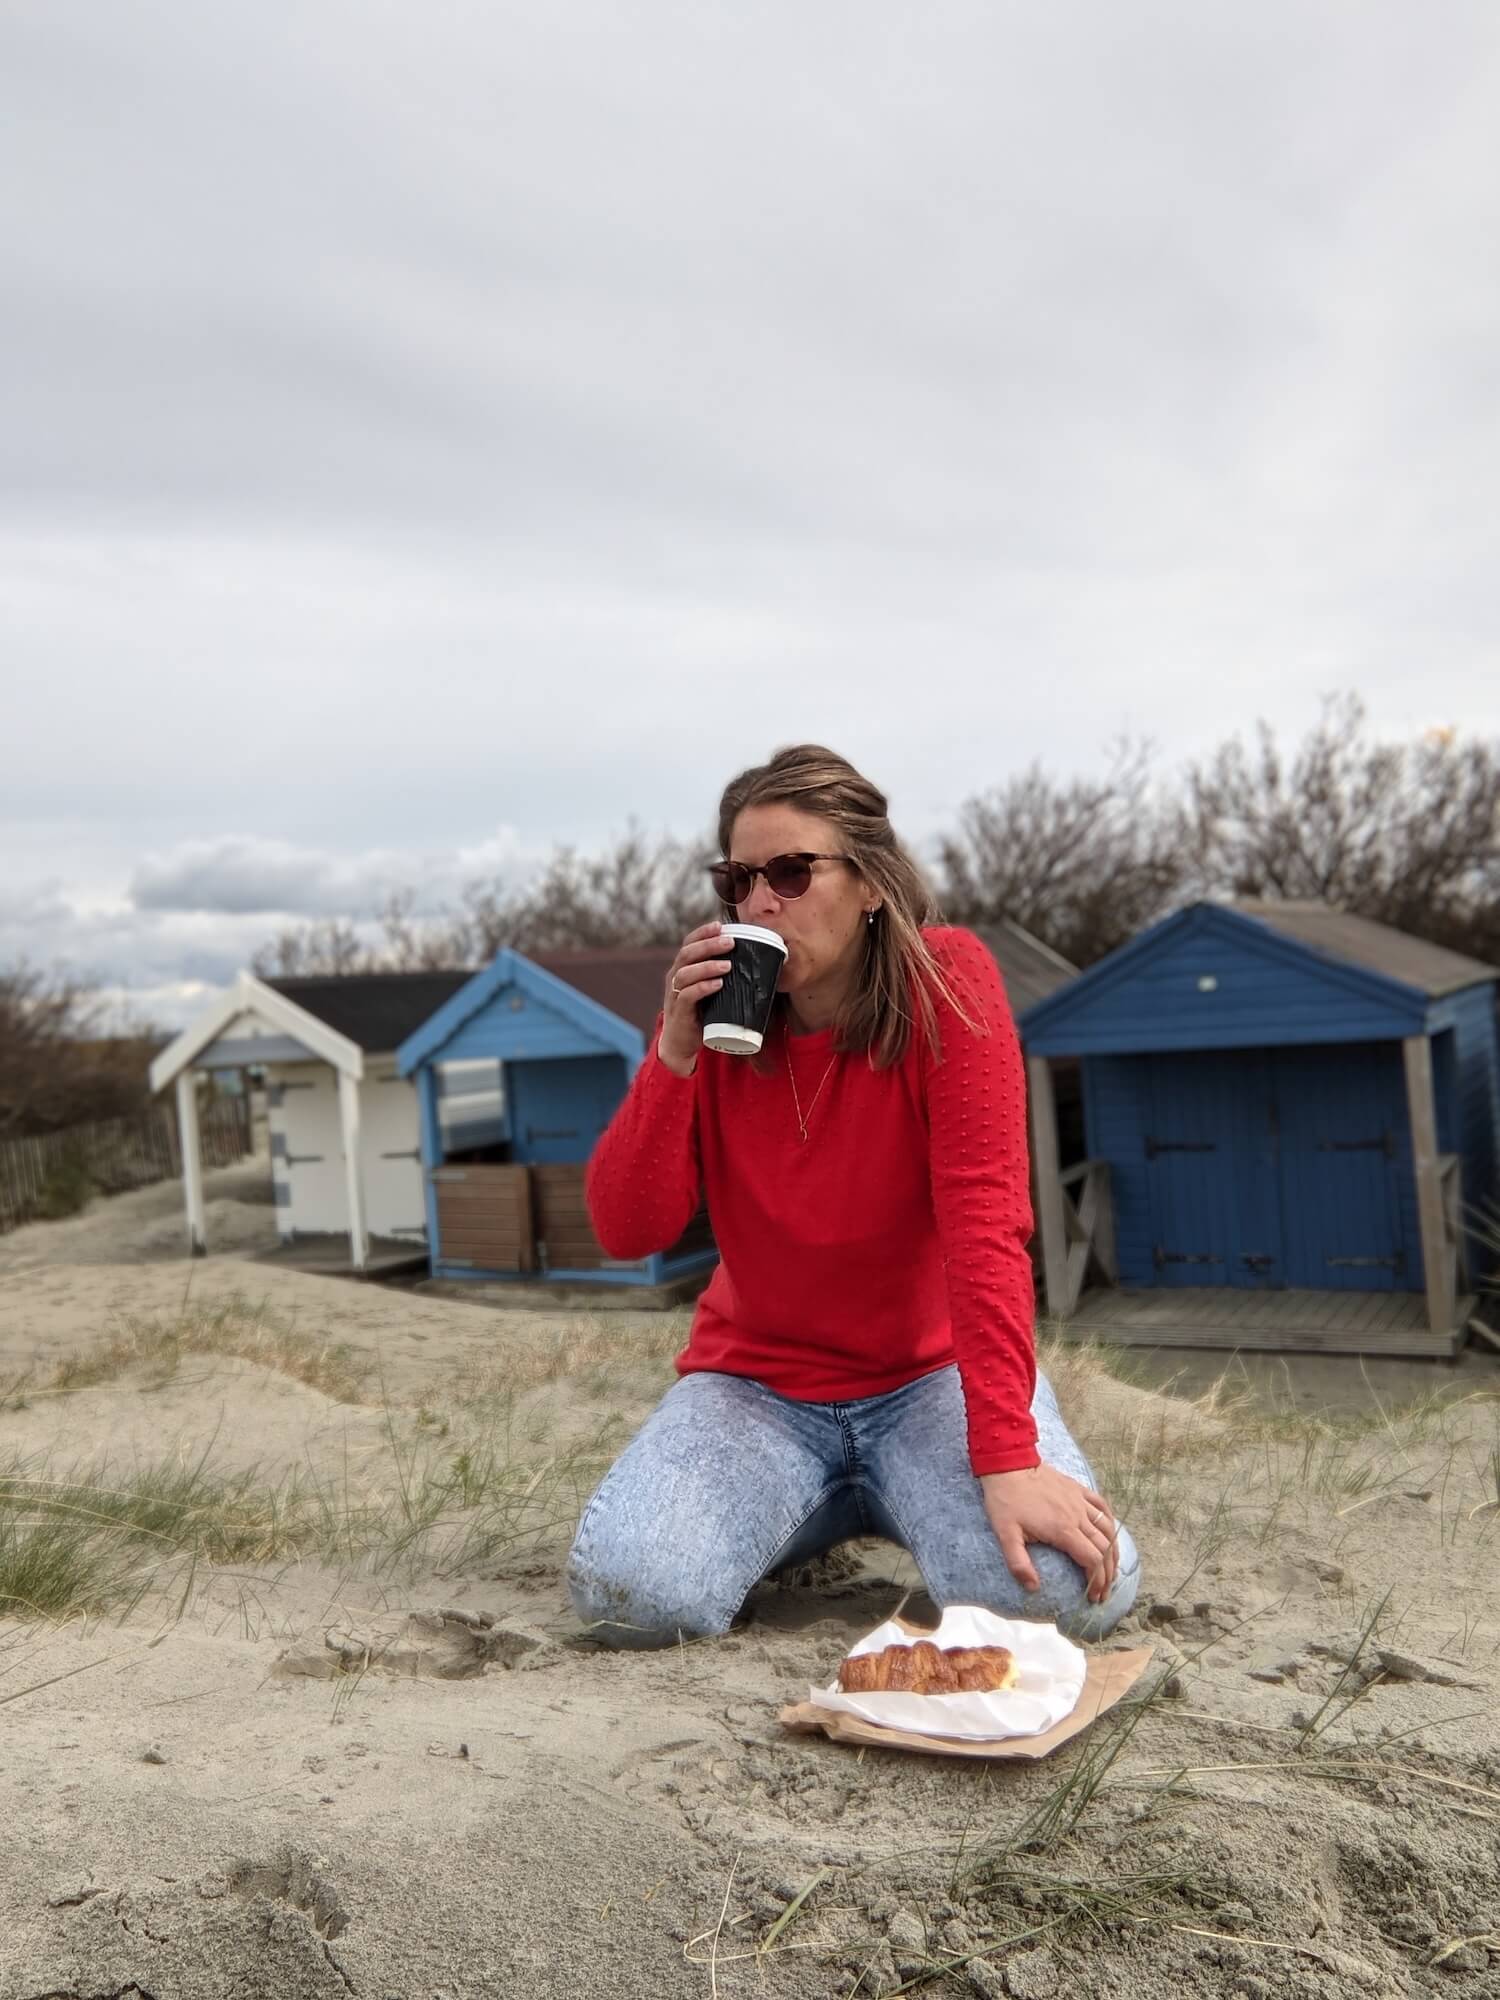
If you’re photographing yourself indoors, stand facing a window instead of relying on overhead lights. Natural window light is far more flattering and gives a much softer finish, like the photo above on Southsea Beach.
Try to avoid taking photos in the middle of the day if you can. Bright overhead sun creates harsh shadows under your eyes and nose, often leaving you squinting and washed out. If midday is your only option, look for open shade under trees, beside buildings or under an archway.
2. Use the back camera
Your phone’s rear camera is almost always significantly better than the selfie camera.
It has a higher resolution, better dynamic range and generally produces much sharper images. It can feel a little awkward because you can’t see yourself, but after a few attempts you’ll quickly get used to it.
There are loads of ways to trigger the shutter:
- Set a 3 or 10-second timer.
- Use your smartwatch as a remote.
- Connect a small Bluetooth remote.
- Use voice control if your phone supports it.
Personally, my favourite option is the Insta360 Snap. It works as both a phone grip and a Bluetooth shutter button, so I can discreetly hold it while taking photos without constantly running back and forth to my phone. It’s become one of those travel gadgets I take everywhere. It’s really changed the way I film my chatty Instagram videos too.

The Insta360 Snap has been an absolute gamechanger. You can buy one for £82.99 – make sure to get the one with the light to make it more useful in lowlight.
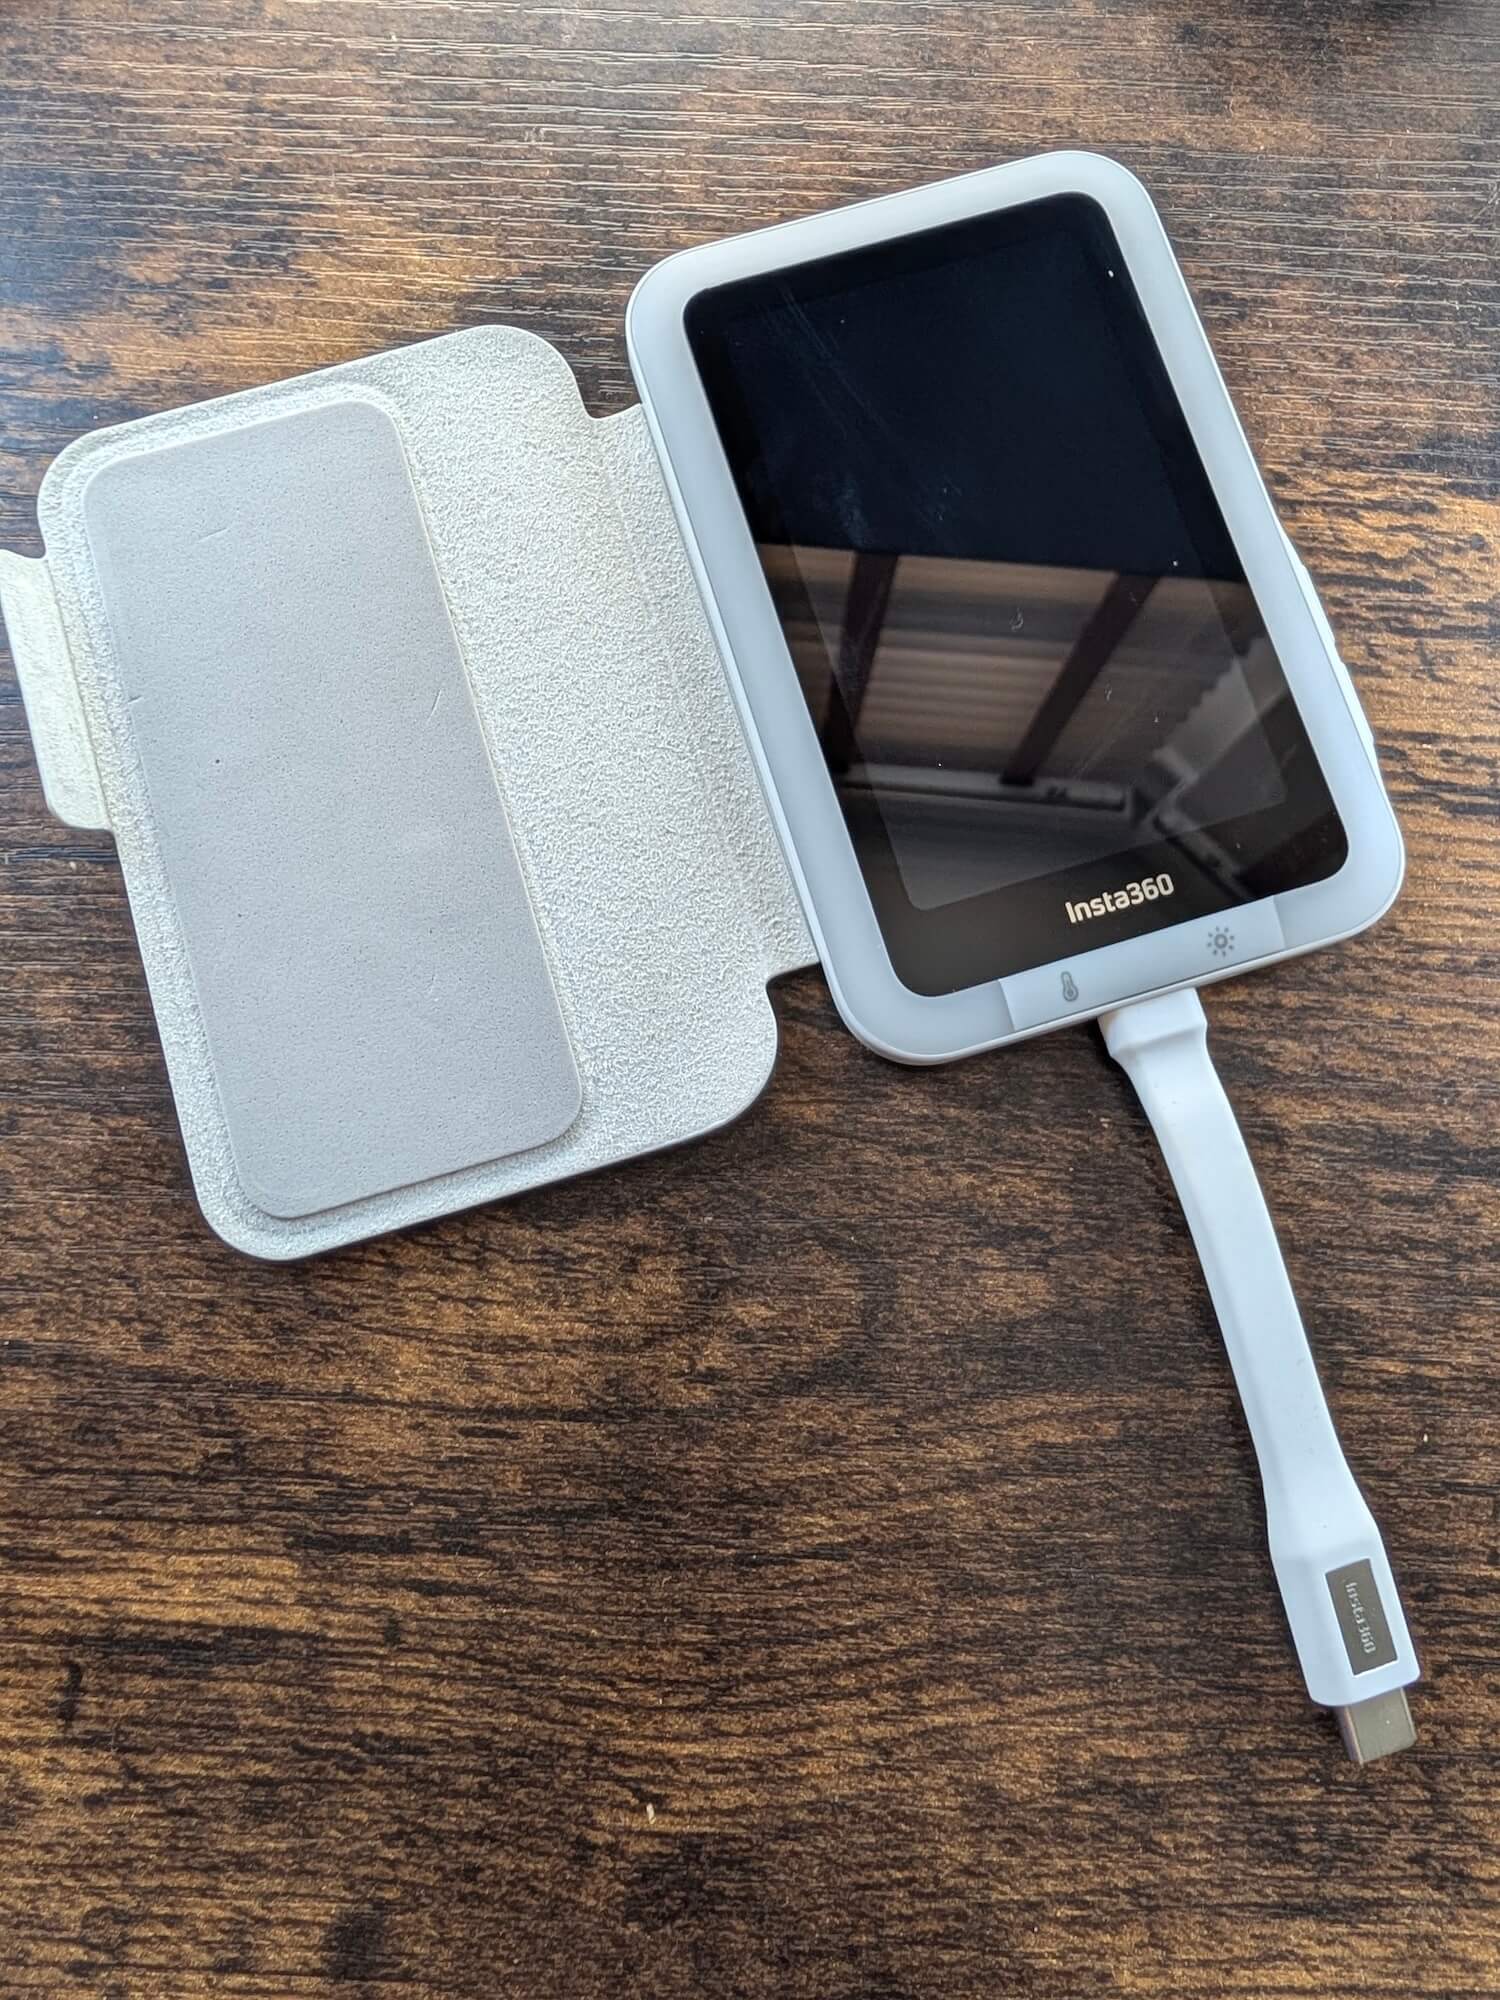
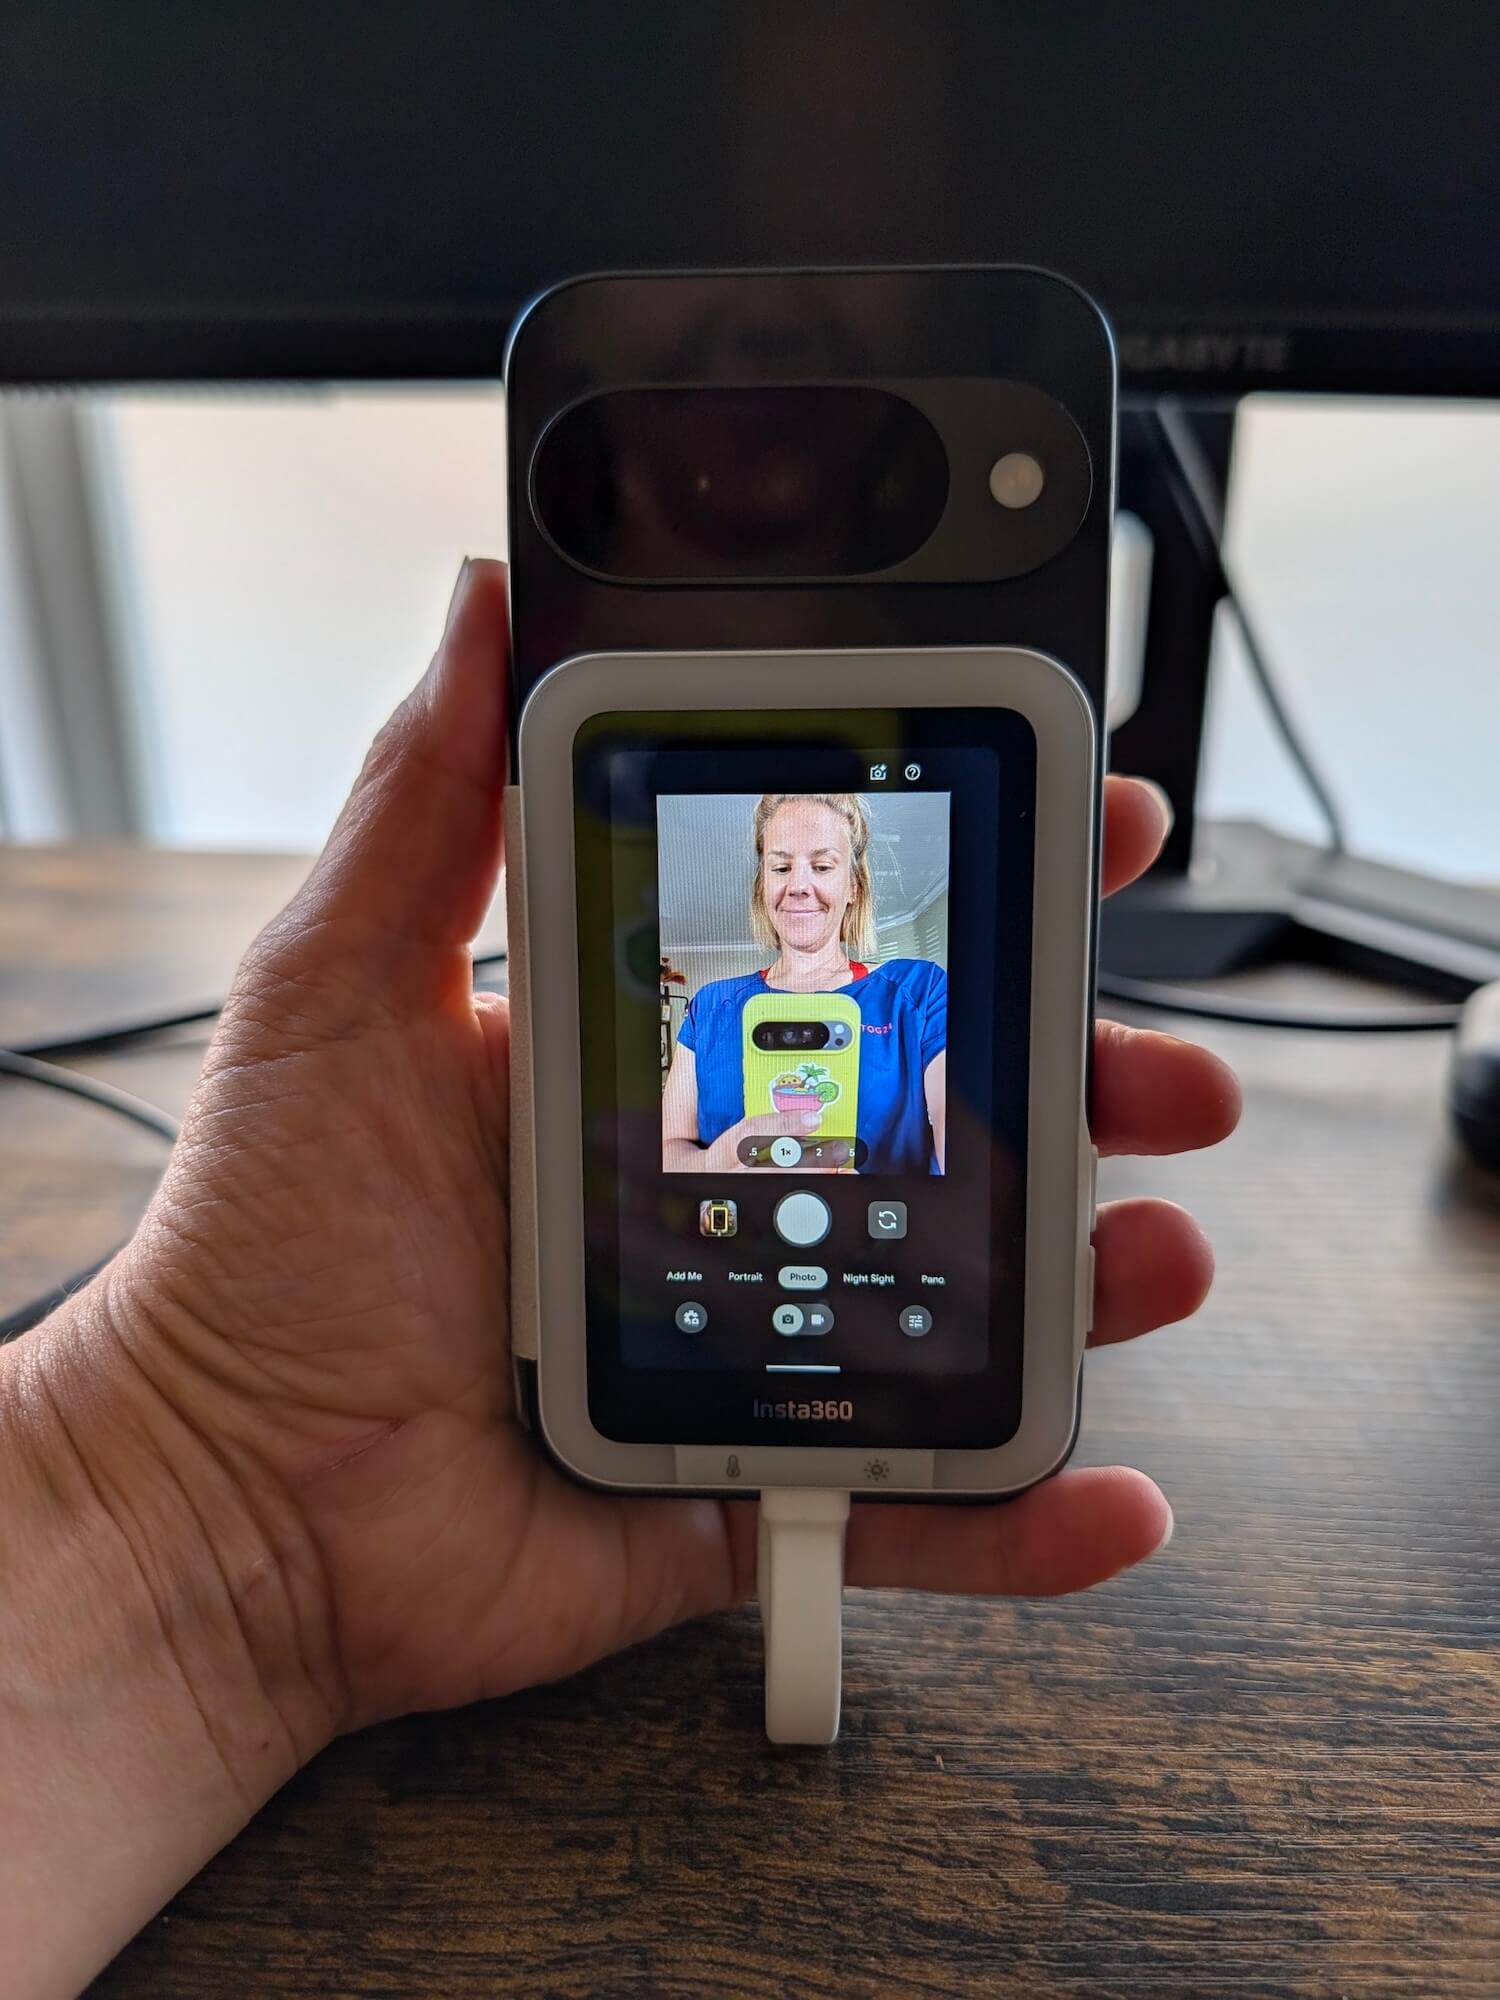
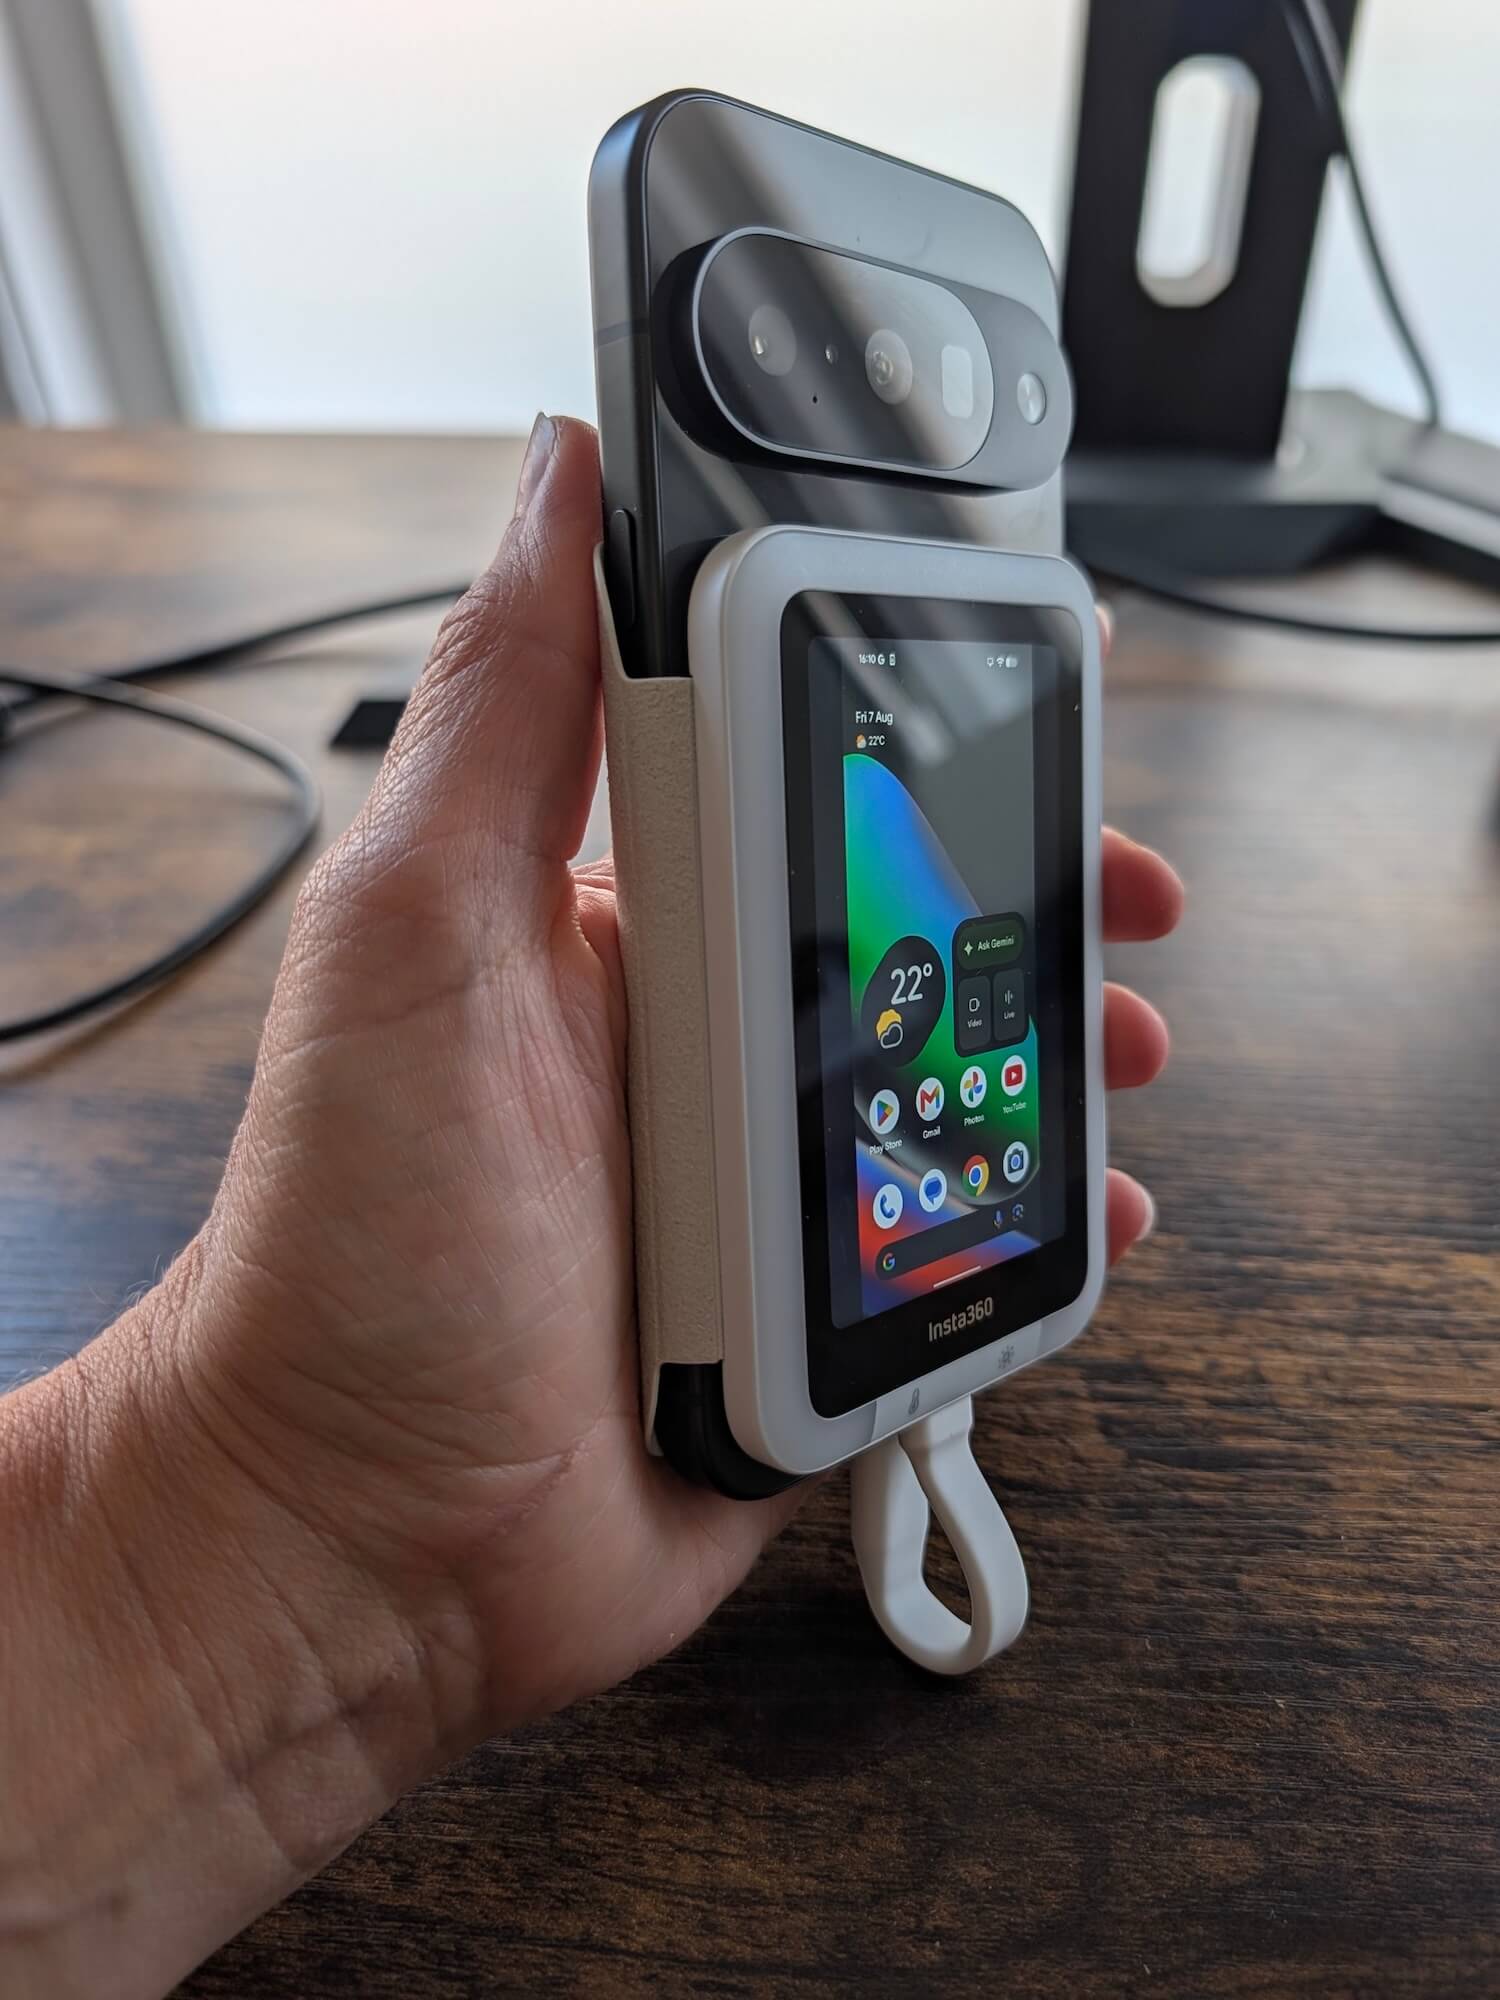
Seriously, clean your camera lens. Your phone spends all day in your pocket or bag collecting fingerprints. Give the lens a quick wipe with a microfibre cloth (or even your T-shirt in an emergency) before every photo. It takes two seconds and instantly makes your images look sharper.
3. Use a tripod
If you only buy one bit of photography equipment, make it a tripod.
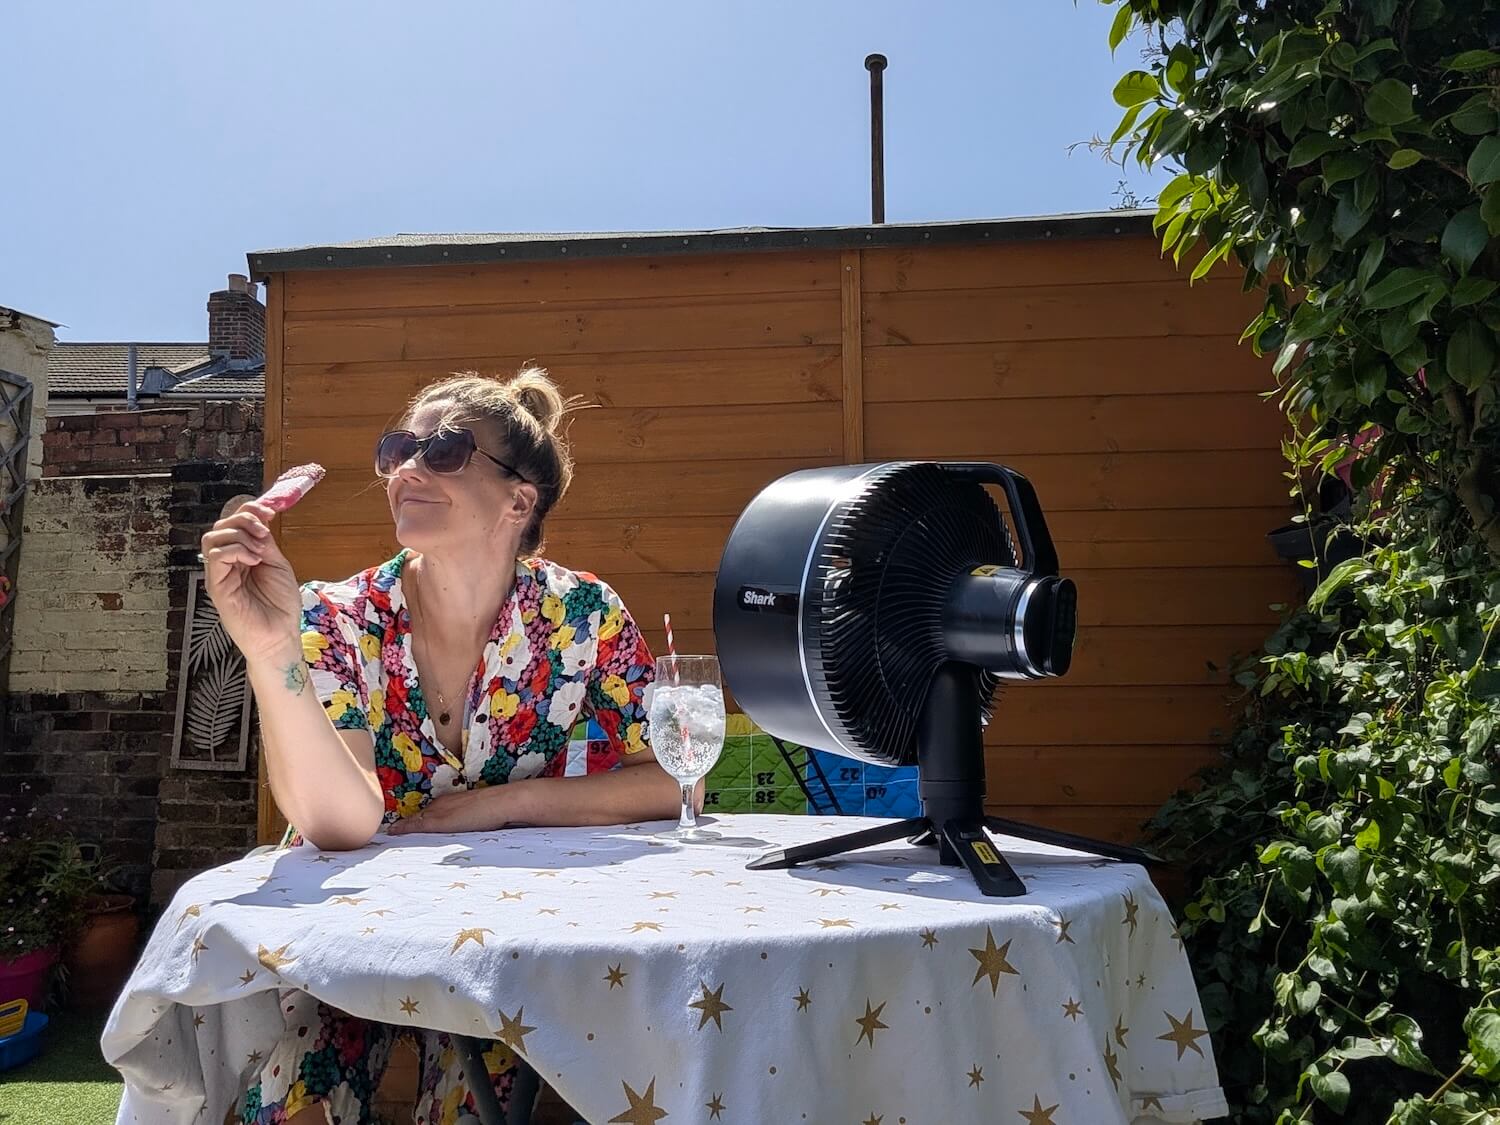
It completely changes the way you can photograph yourself. Rather than balancing your phone on a rock, backpack or water bottle, you can compose the shot properly and take your time.
The good news is you don’t need a huge professional tripod either (if you don’t have one, I use my trainer). These are the three I’d recommend depending on your travel style:
GorillaPod
A GorillaPod has flexible legs that wrap around fences, tree branches, railings and signposts.
It’s brilliant if you’re visiting cities or viewpoints where there isn’t much flat ground. I’ve wrapped mine around everything from balcony rails to picnic benches over the years.
It’s compact enough to fit in a day bag and surprisingly sturdy.
Lightweight travel tripod
If you’re planning a photography-heavy trip, a lightweight aluminium or carbon fibre travel tripod is worth packing.
Many fold down to around 30-40cm long and weigh less than 1.5kg, so they’ll fit inside most cabin-sized suitcases or strap neatly onto the outside of a backpack.
They also extend much taller than mini tripods, giving you more natural-looking photos rather than low-angle shots.
Magnetic tripod
Magnetic phone tripods are one of my favourite recent travel gadgets.
If your phone supports MagSafe (or you use a magnetic case), you can attach your phone in seconds. Many magnetic tripods also double as selfie sticks and small desktop stands, making them incredibly versatile while taking up hardly any luggage space.
Mine lives in my handbag most of the time because it’s so small.
4. Use Portrait Mode carefully
Portrait Mode can make your photos look beautifully professional, but it isn’t always the best option.
It works by blurring the background to make you stand out, which looks great in cafés, markets or gardens. However, if you’ve travelled all the way to see somewhere incredible, you probably want people to actually see the destination too.
I usually shoot both a Portrait Mode version and a standard photo. That way I can choose later.
5. Don’t always look at the camera
Some of the most natural travel photos are the ones where you’re not staring straight into the lens.
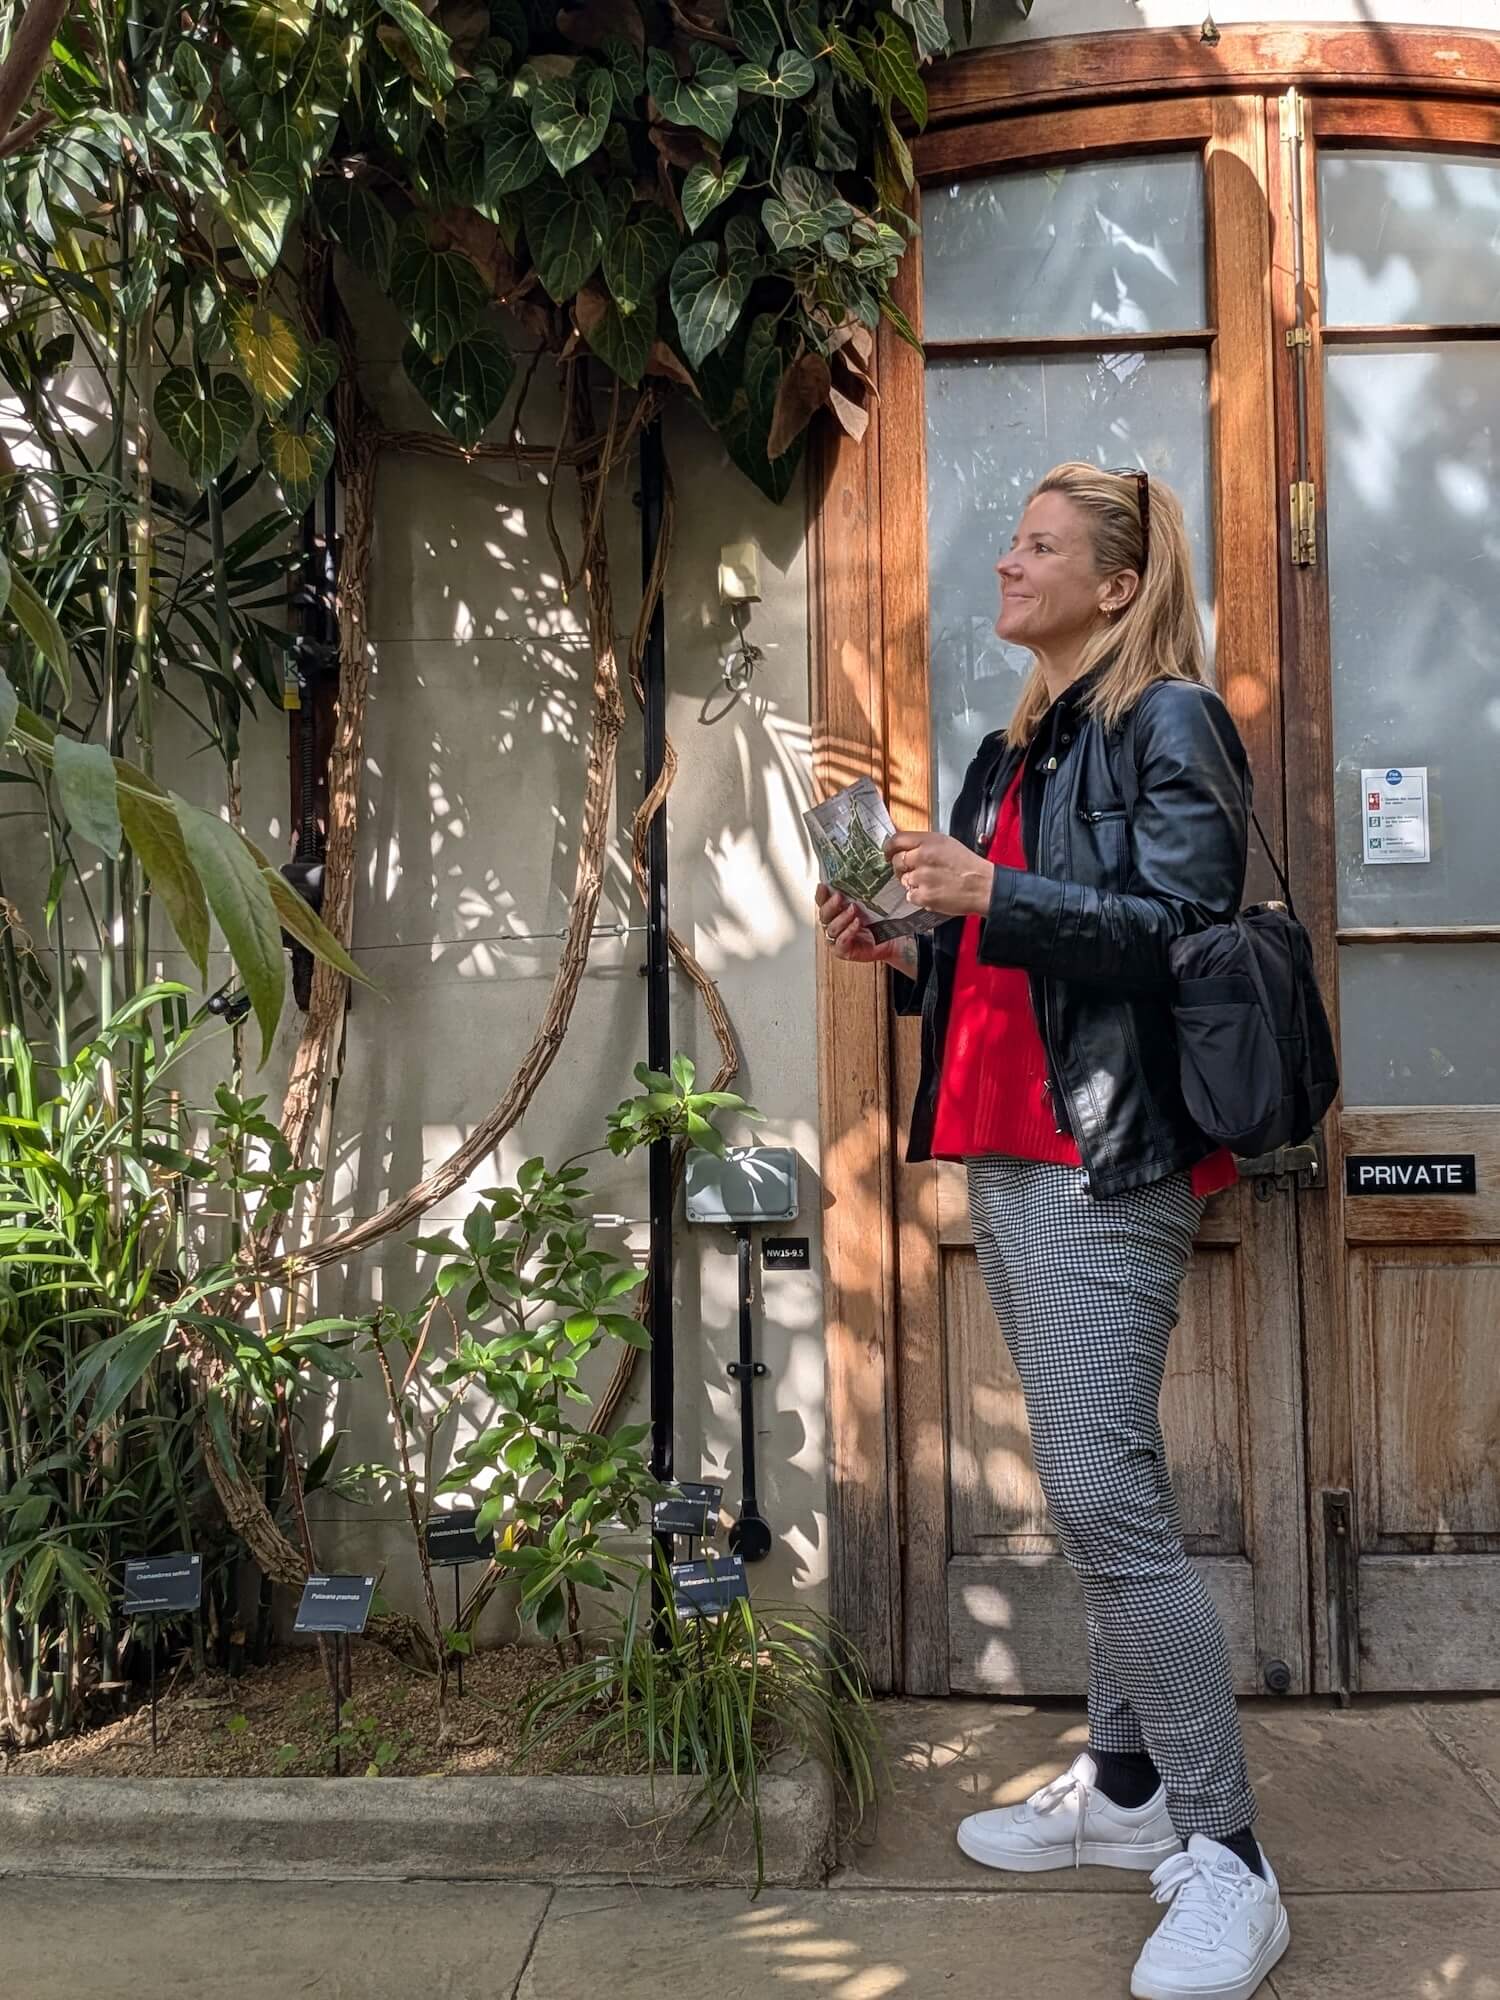
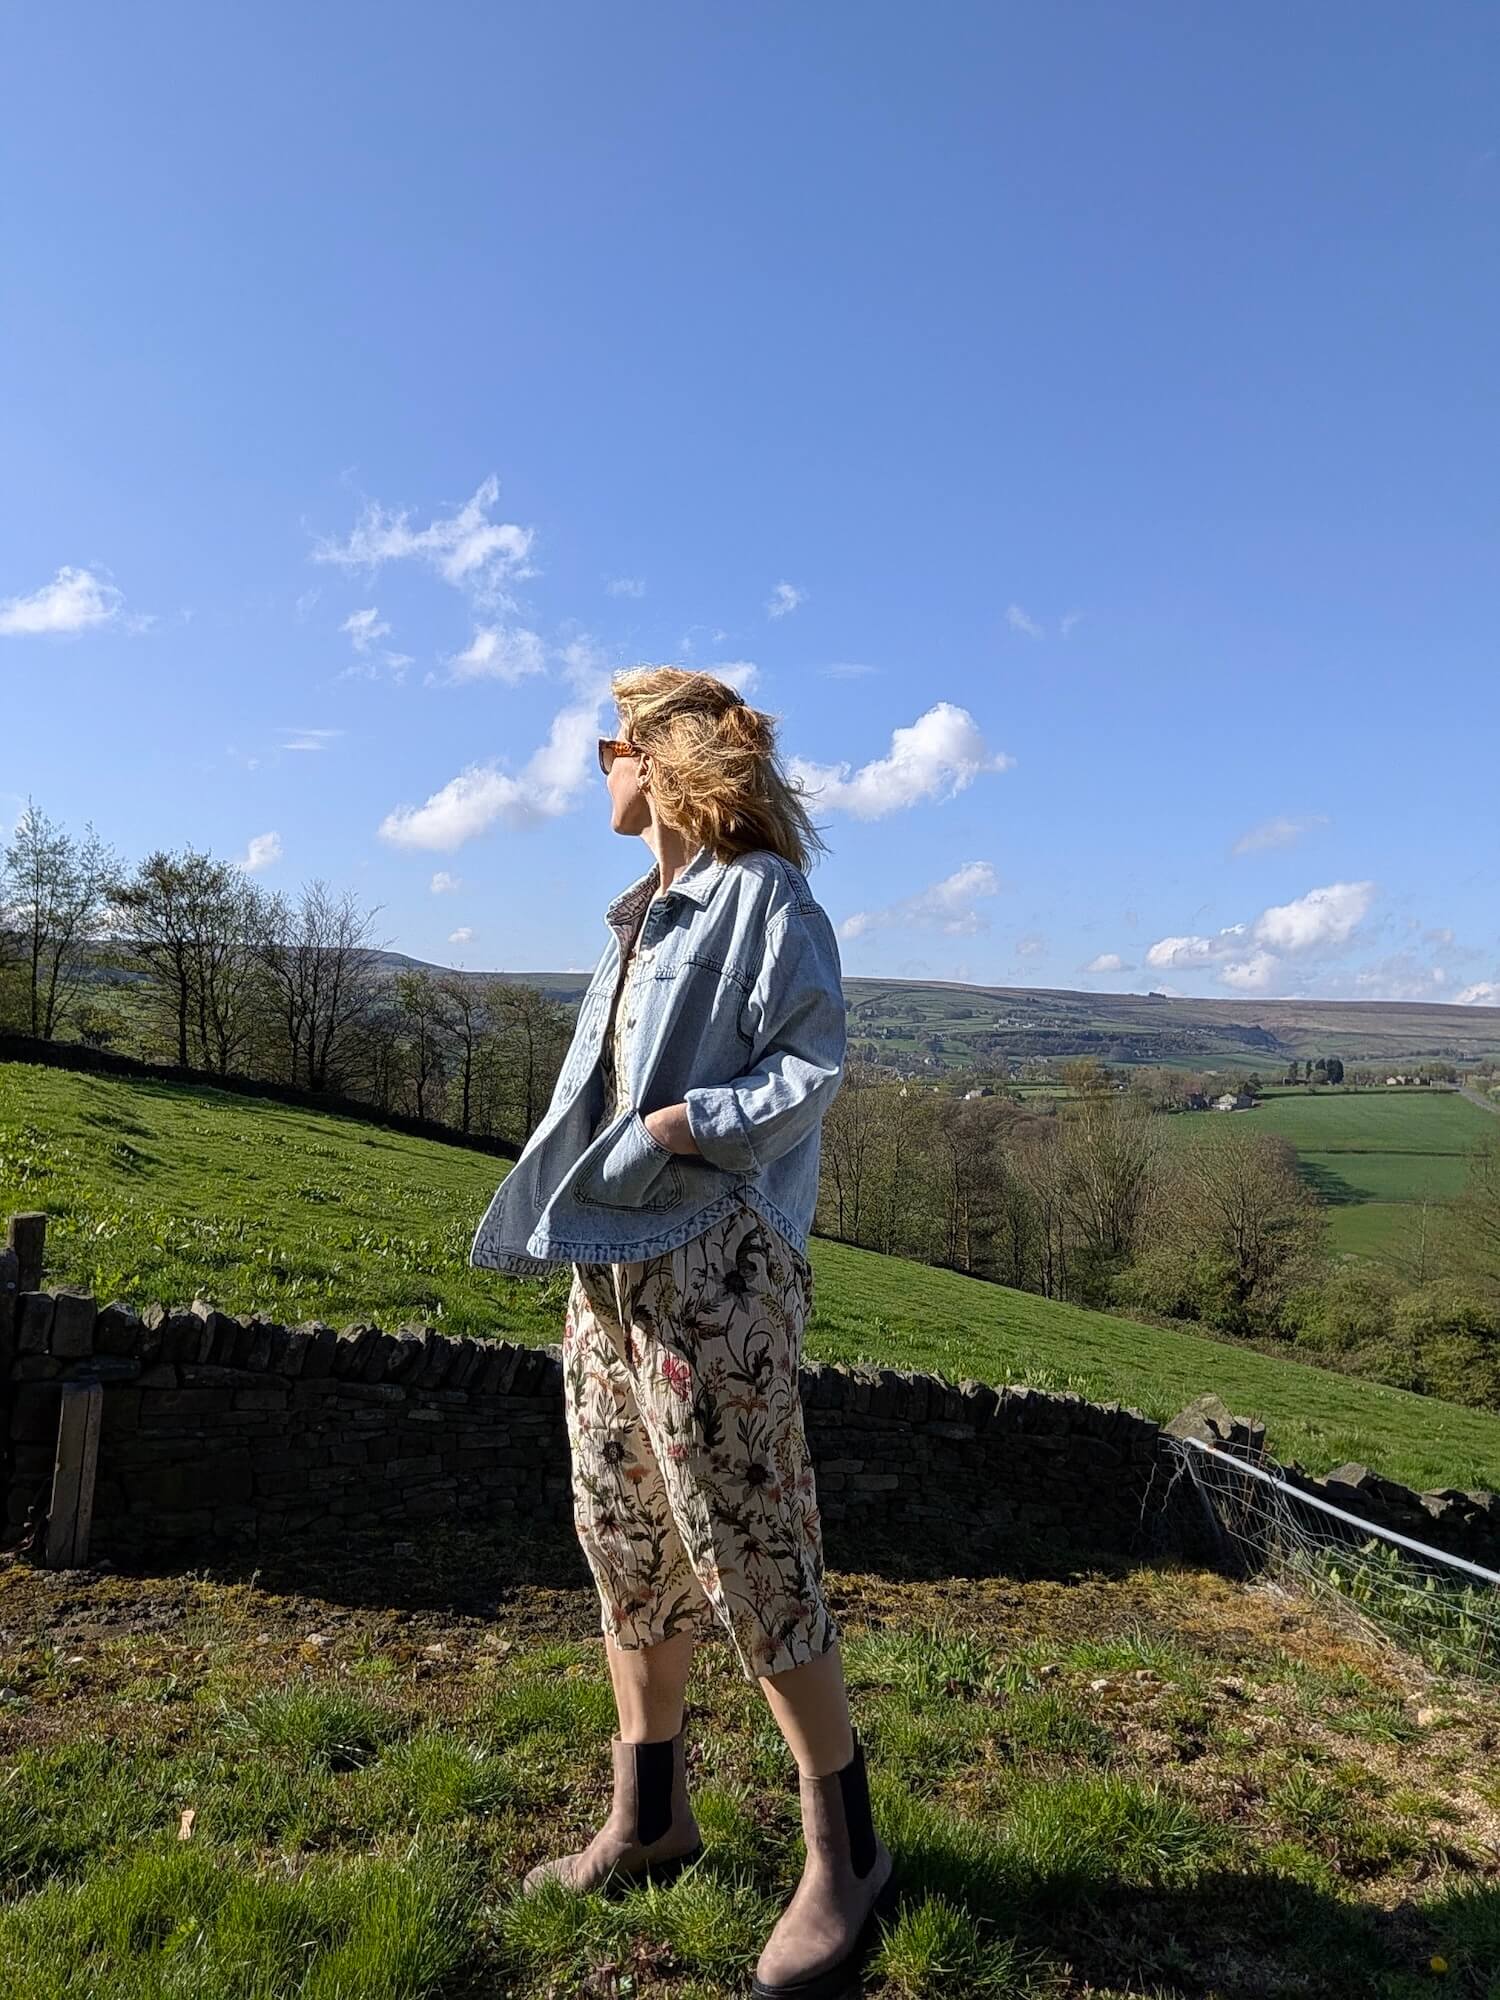
Instead, try:
- Walking away from the camera.
- Looking at the view.
- Laughing.
- Adjusting your sunglasses or backpack.
- Pretending to admire a building.
Giving yourself something to do instantly makes you look more relaxed.
6. Take a video instead
Rather than trying to capture one perfect photo, record a short 4K video and then scroll through afterwards to grab still frames.
You’ll often find dozens of brilliant moments that you’d never have captured with a single photo.
It’s particularly useful if you’re walking, spinning around, jumping or laughing.
7. Take loads
Nobody posts the first photo.
Or the fifth.
Or sometimes even the fiftieth.
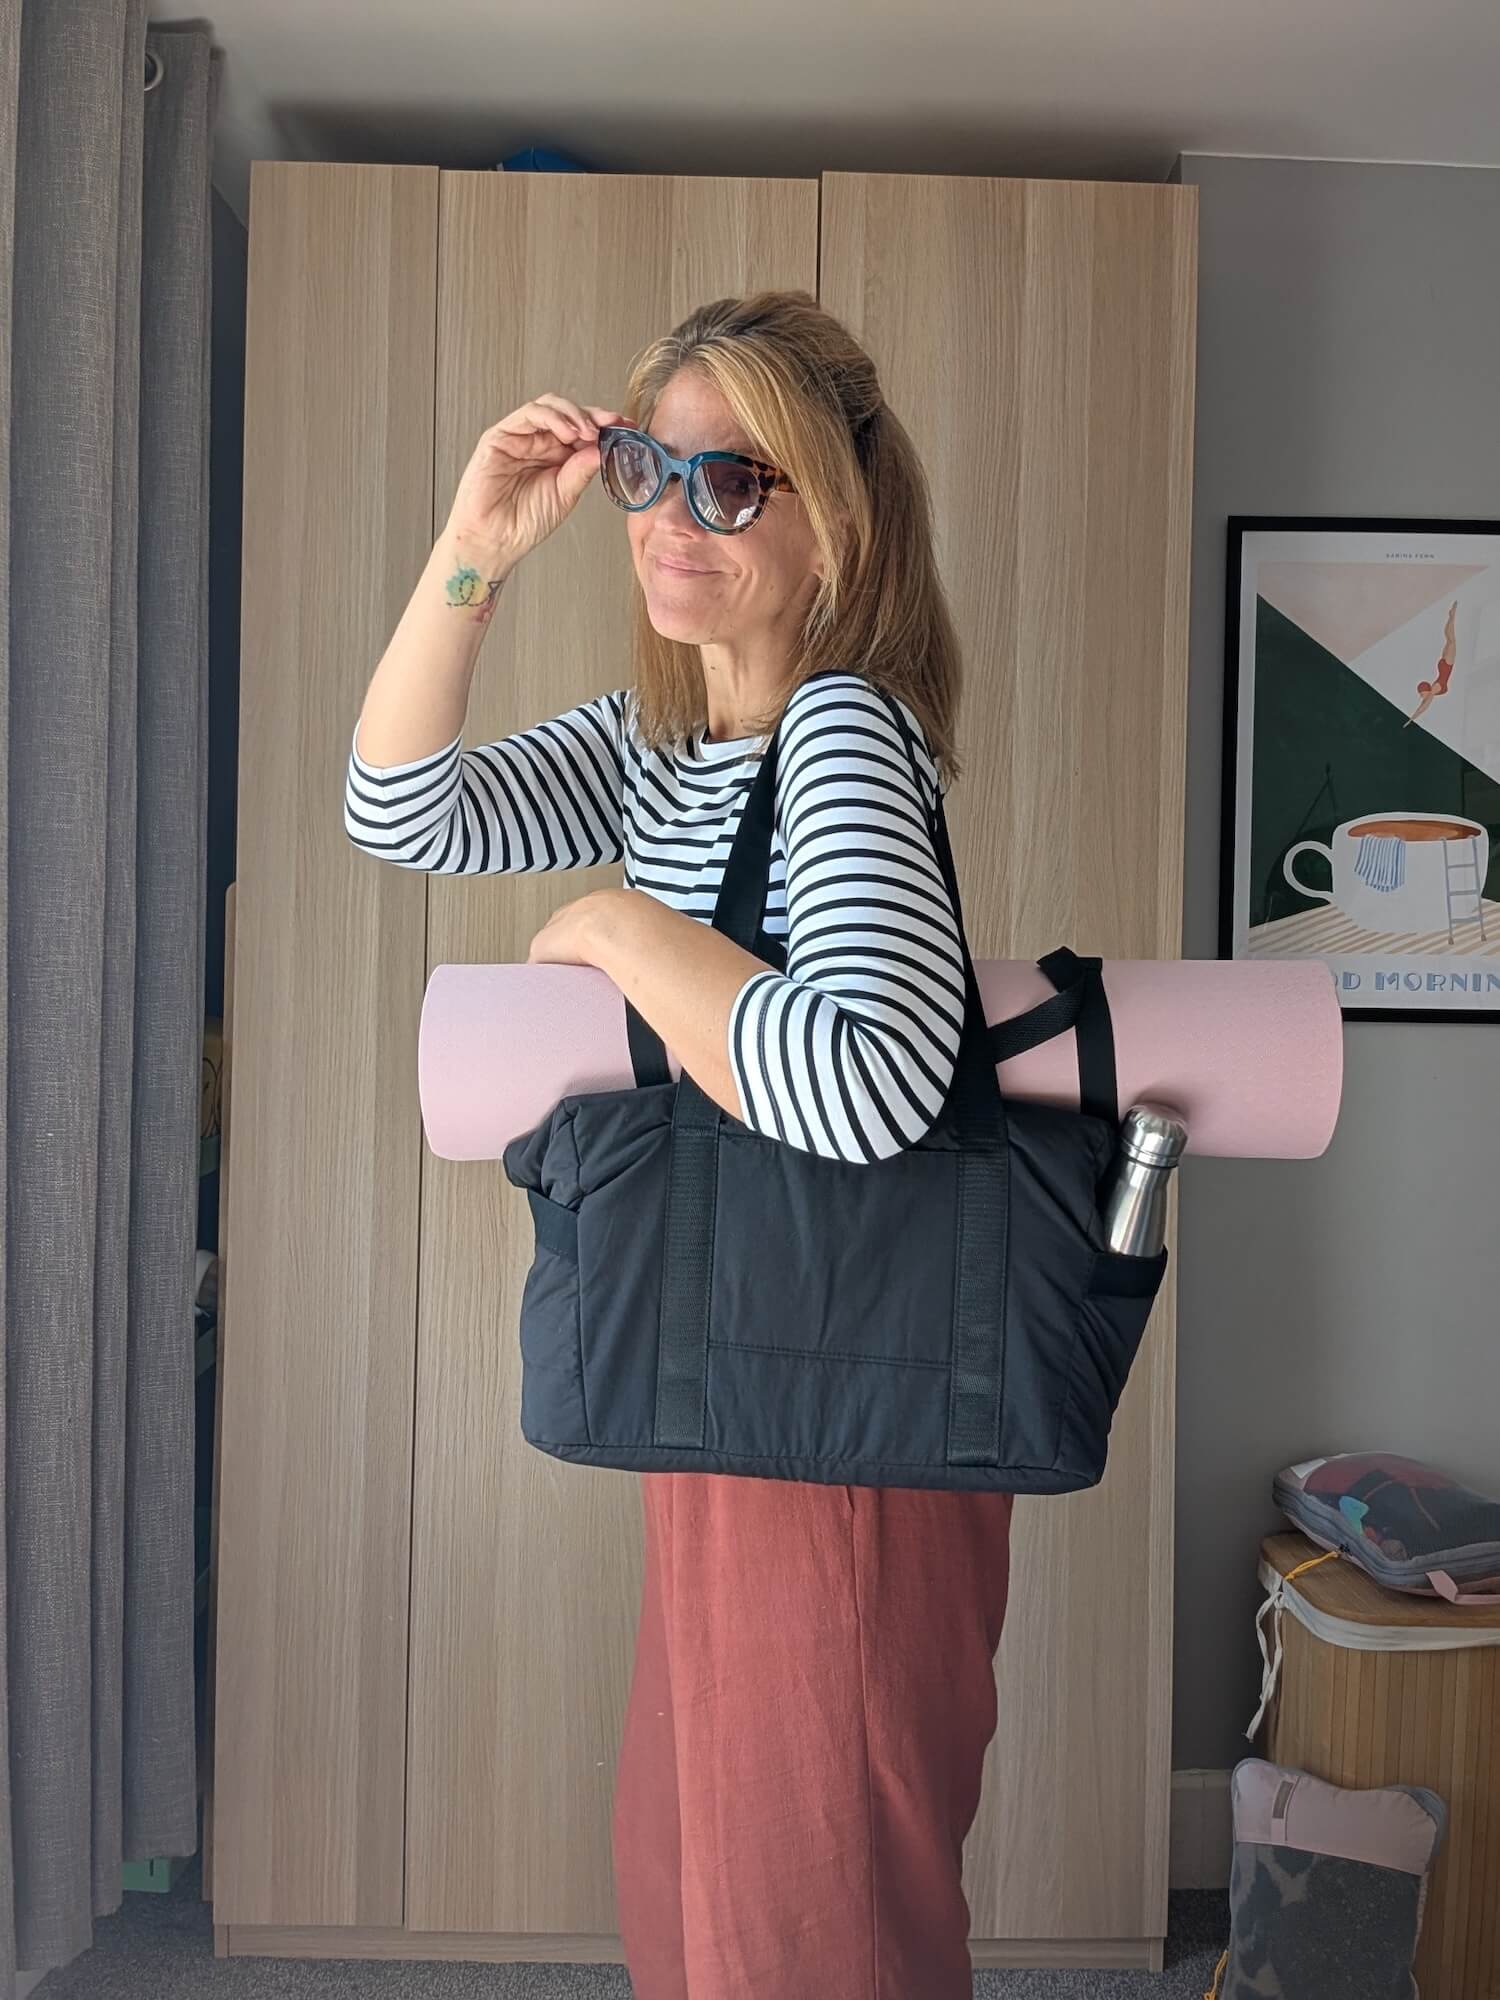
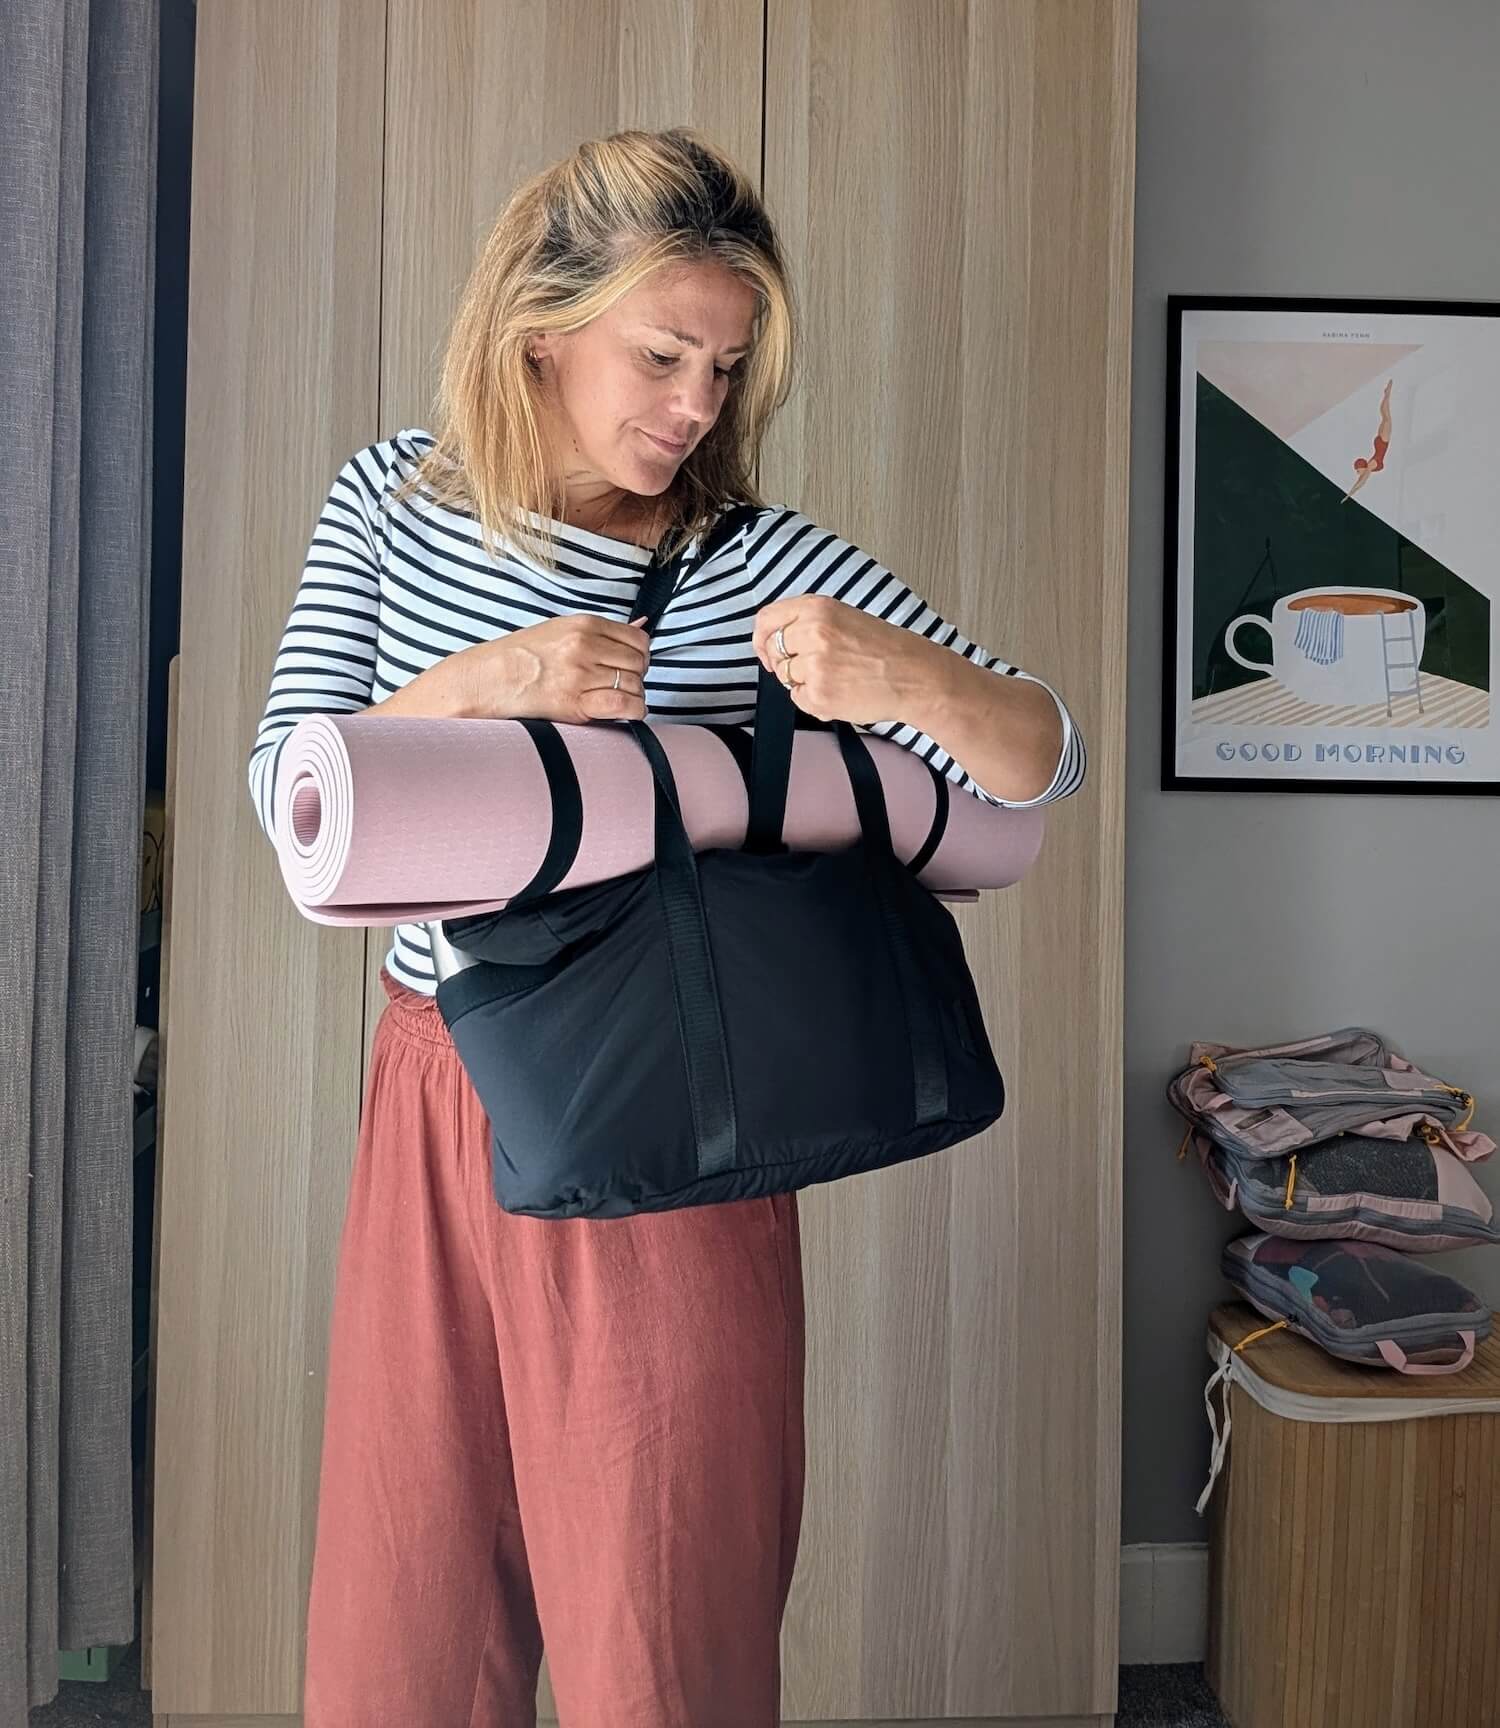
Digital photos are free, so don’t be afraid to take loads of them. Move slightly between each shot, change your expression, alter your pose and keep shooting.
You’ll usually find one image that stands out.
8. Learn your angles
Everyone has angles they prefer.
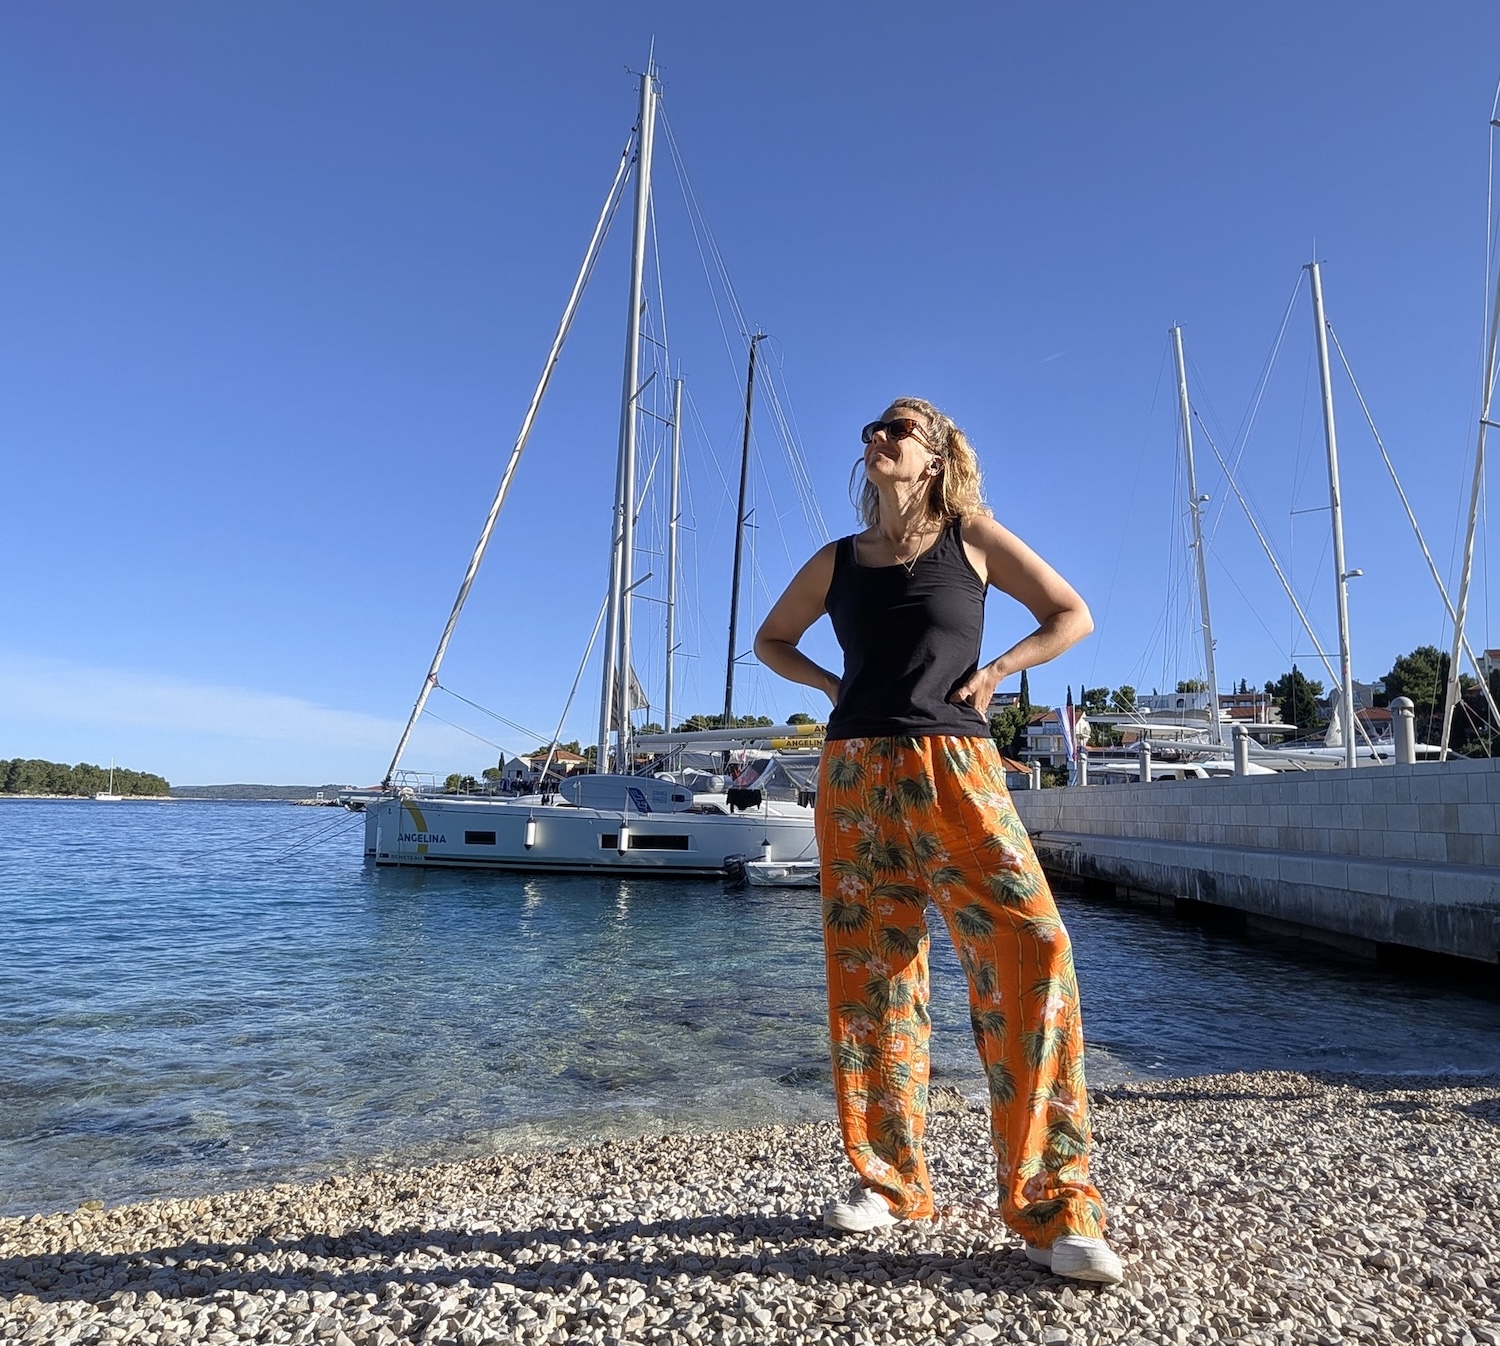
Spend some time experimenting at home before your trip. Try different heights, distances and directions until you work out what feels most like you. I like this shot, from lowdown on my sailing trip in Croatia – makes my legs look longer!
Once you know what works, recreating it while travelling becomes much easier. This is why I find it really hard to like a photo that someone else takes of me – I just know how I like my photos.
9. Add movement
Standing completely still can make anyone look awkward.
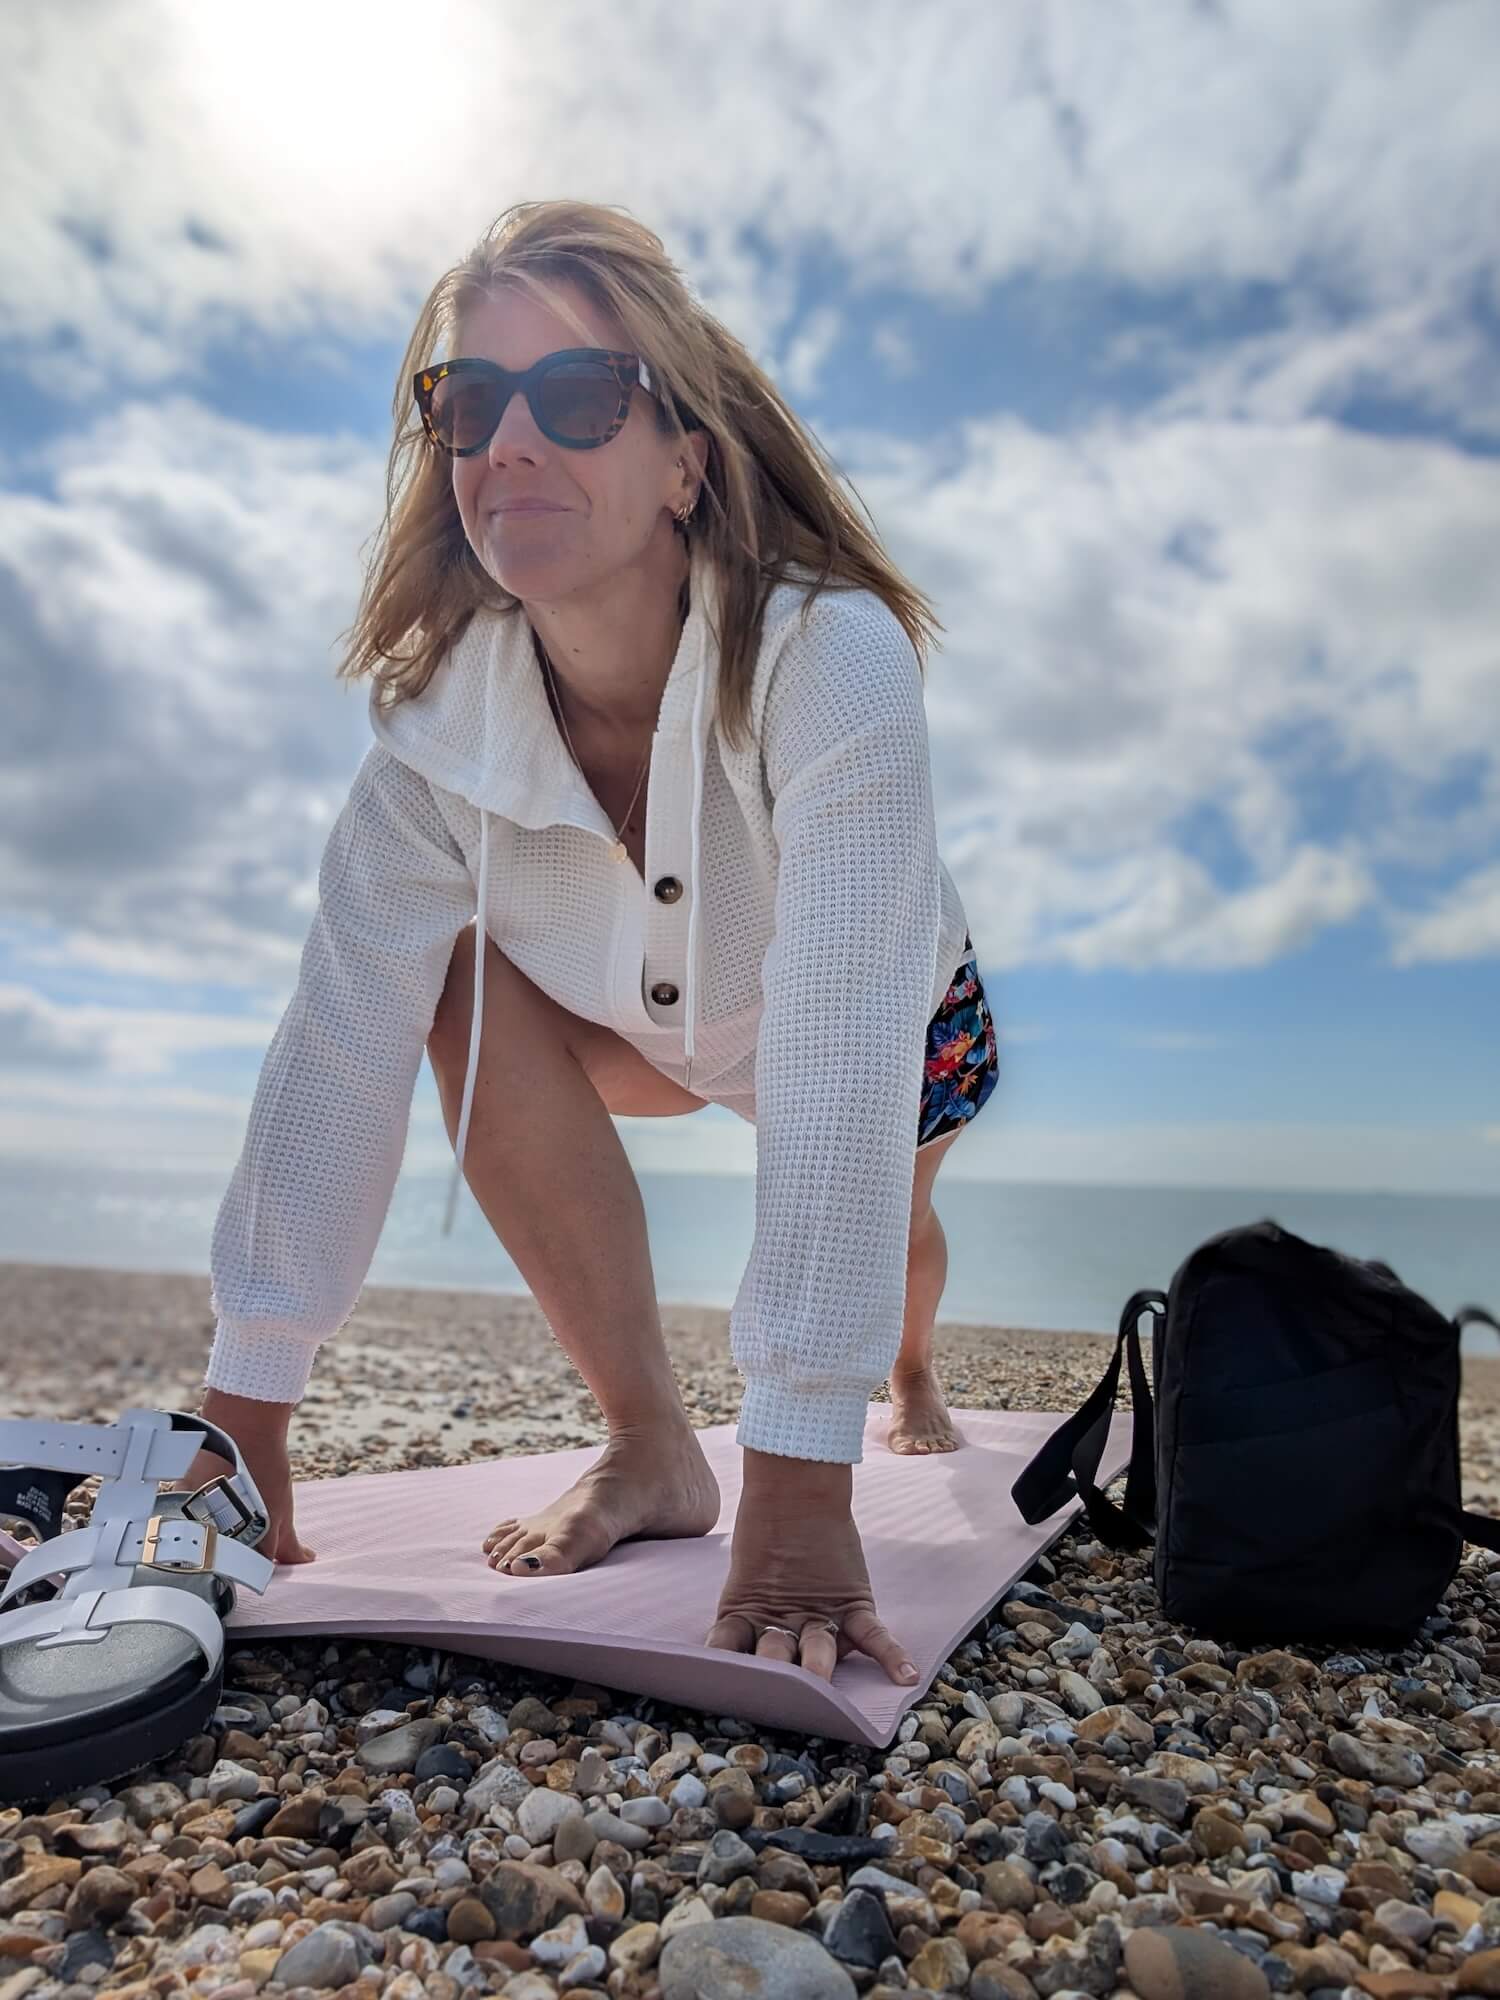
Instead, create movement by:
- Walking.
- Taking a sip of coffee.
- Looking over your shoulder.
- Adjusting your sunnies.
Movement helps photos feel much more candid.
10. Use the surroundings
Rather than filling the frame with yourself, step back and let the location shine. Sit on a wall, stand in a doorway, walk through a market or frame yourself with flowers, arches or trees.
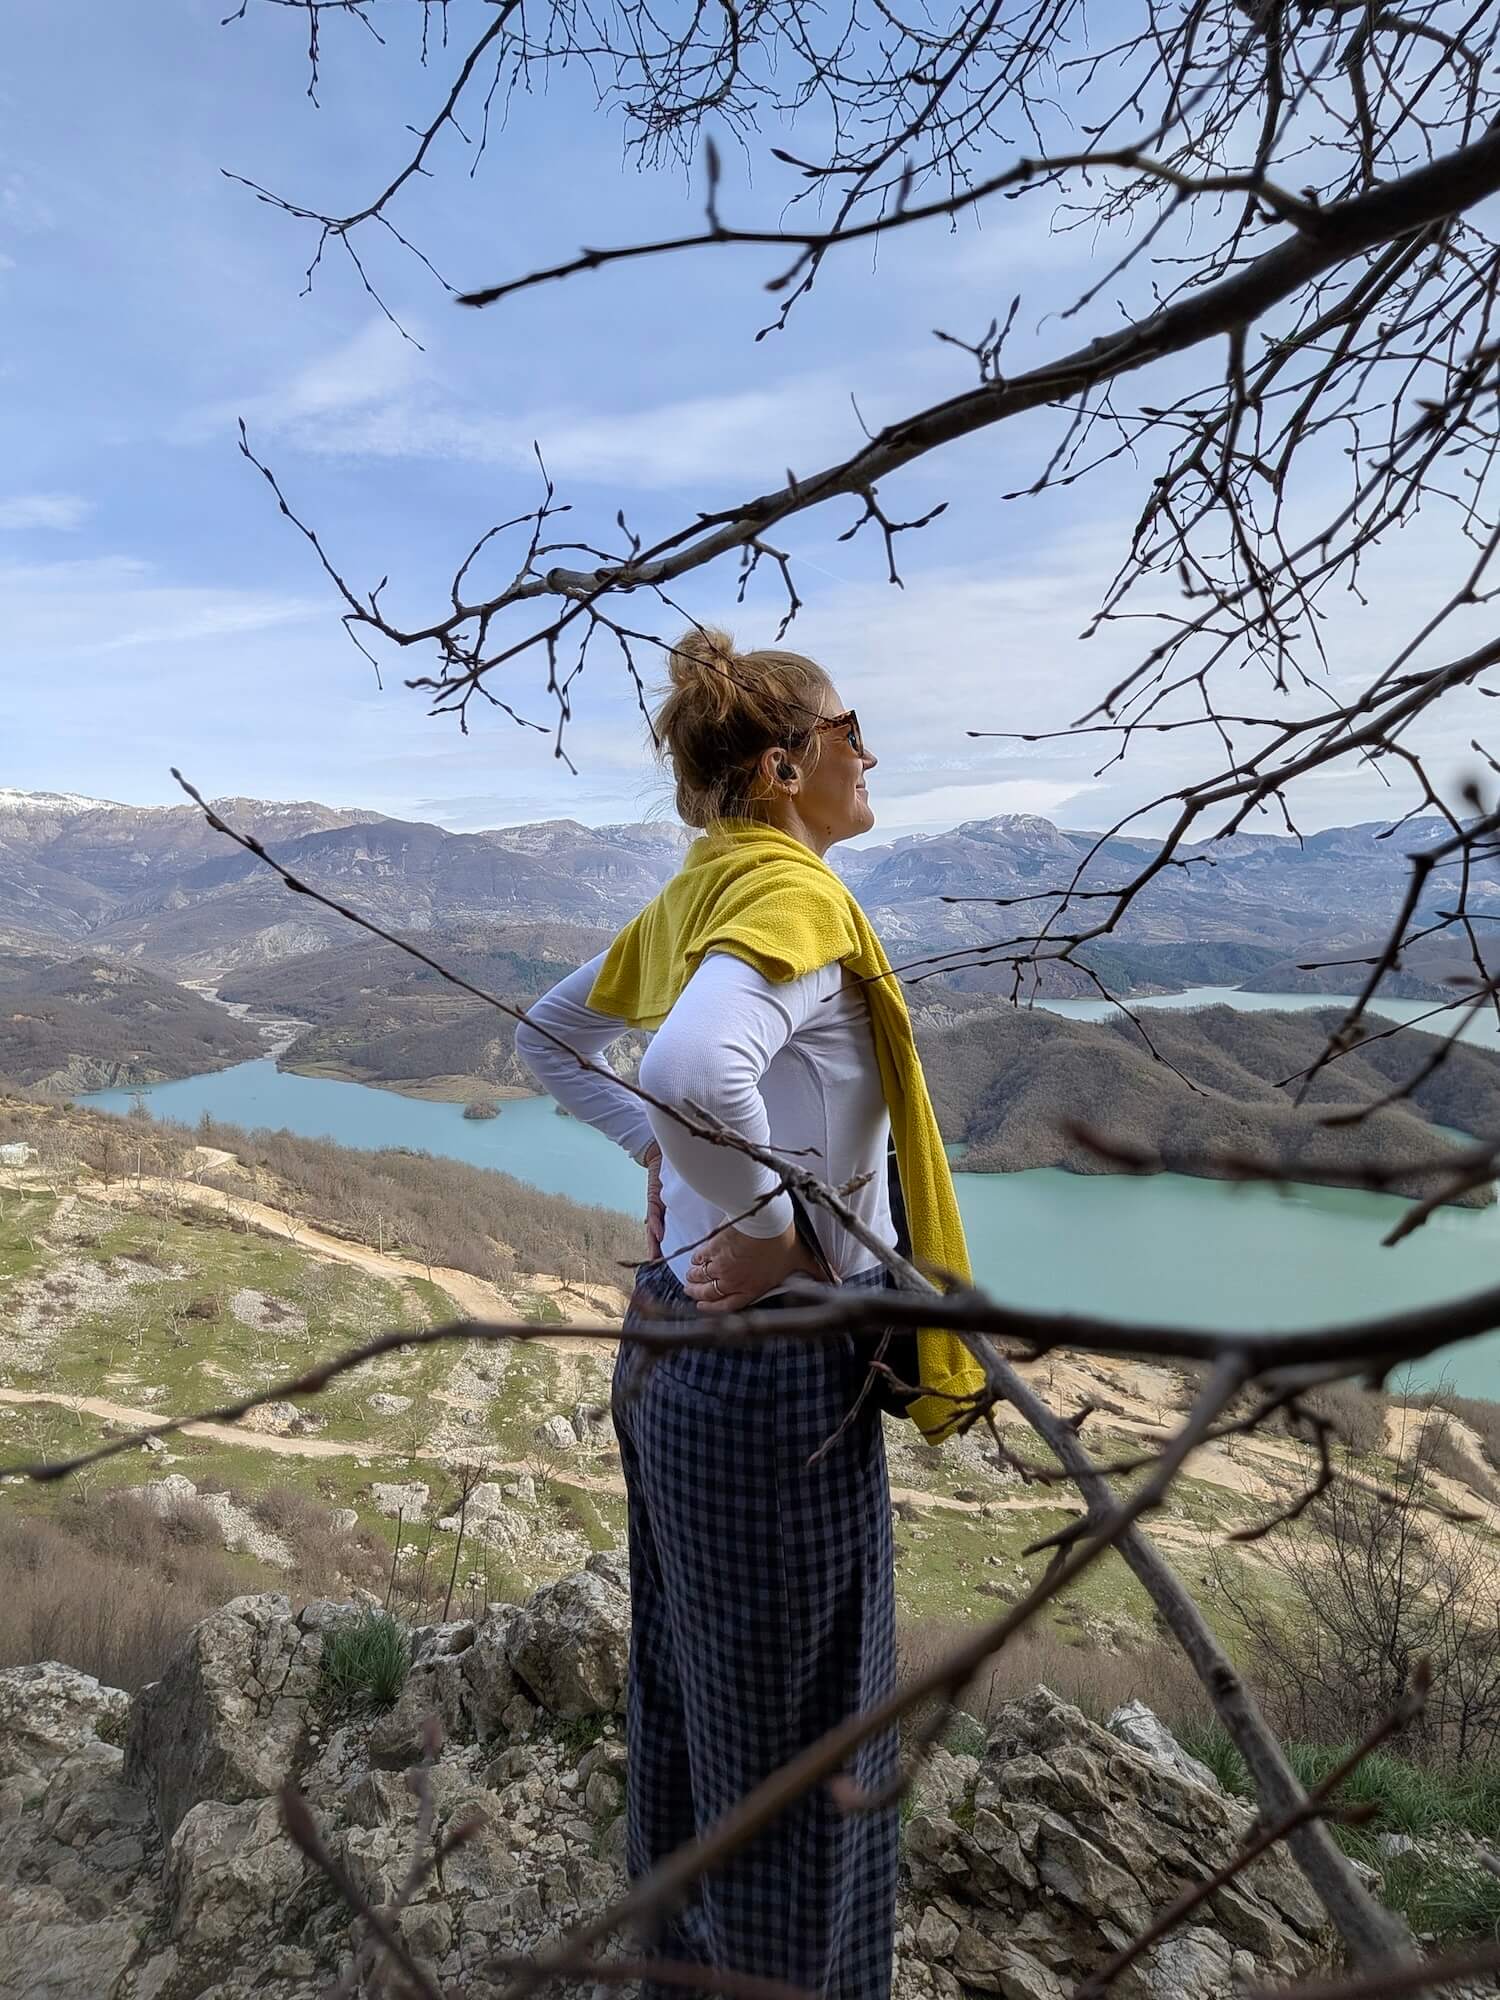
Often the best travel photos are the ones where you’re only a small part of the scene. On this picture on my 24 hours in Tirana, I’m just looking out to the beautiful scenery, rather than it being about me.
11. Edit lightly
A little editing goes a long way. I sometimes increase the brightness slightly, add a touch of warmth if needed, and lift the shadows a little. That’s often enough.
Try not to overdo the filters. You’ll appreciate timeless-looking photos much more when you look back at them in ten years.
12. Don’t let photos take over your trip
This is probably the most important tip of all.
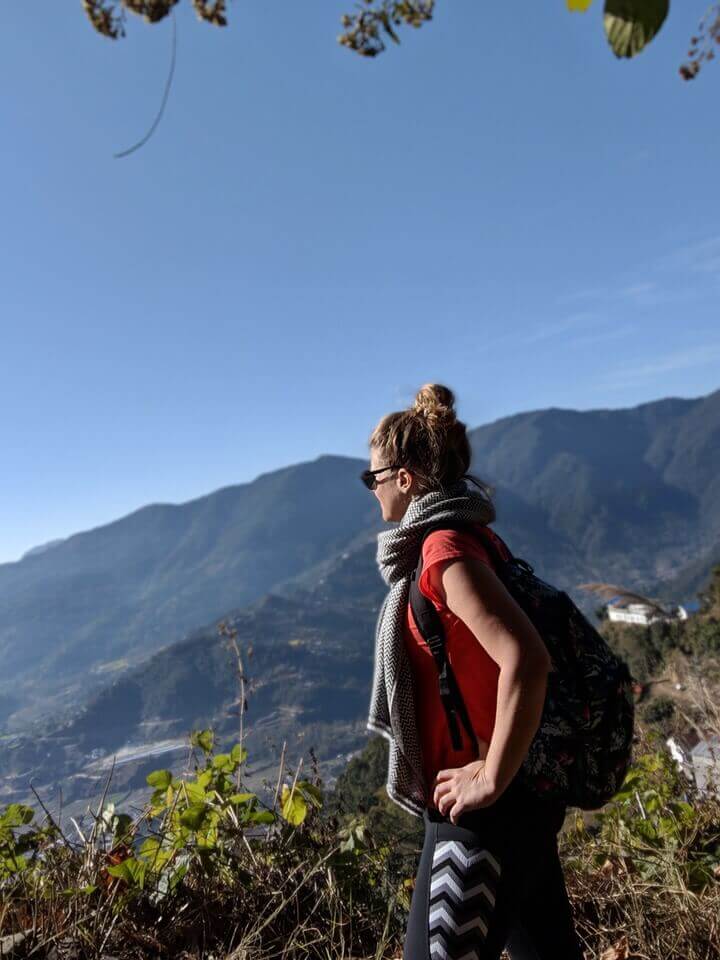
I’ve spent years creating travel content, and I’ve definitely fallen into the trap of chasing the perfect shot instead of enjoying where I actually was.
Now I try to grab a few photos, then put my phone away. This is me hiking in Pokhara in Nepal – well worth pausing a few seconds to get this picture for the collection!
How to take better travel photos of yourself
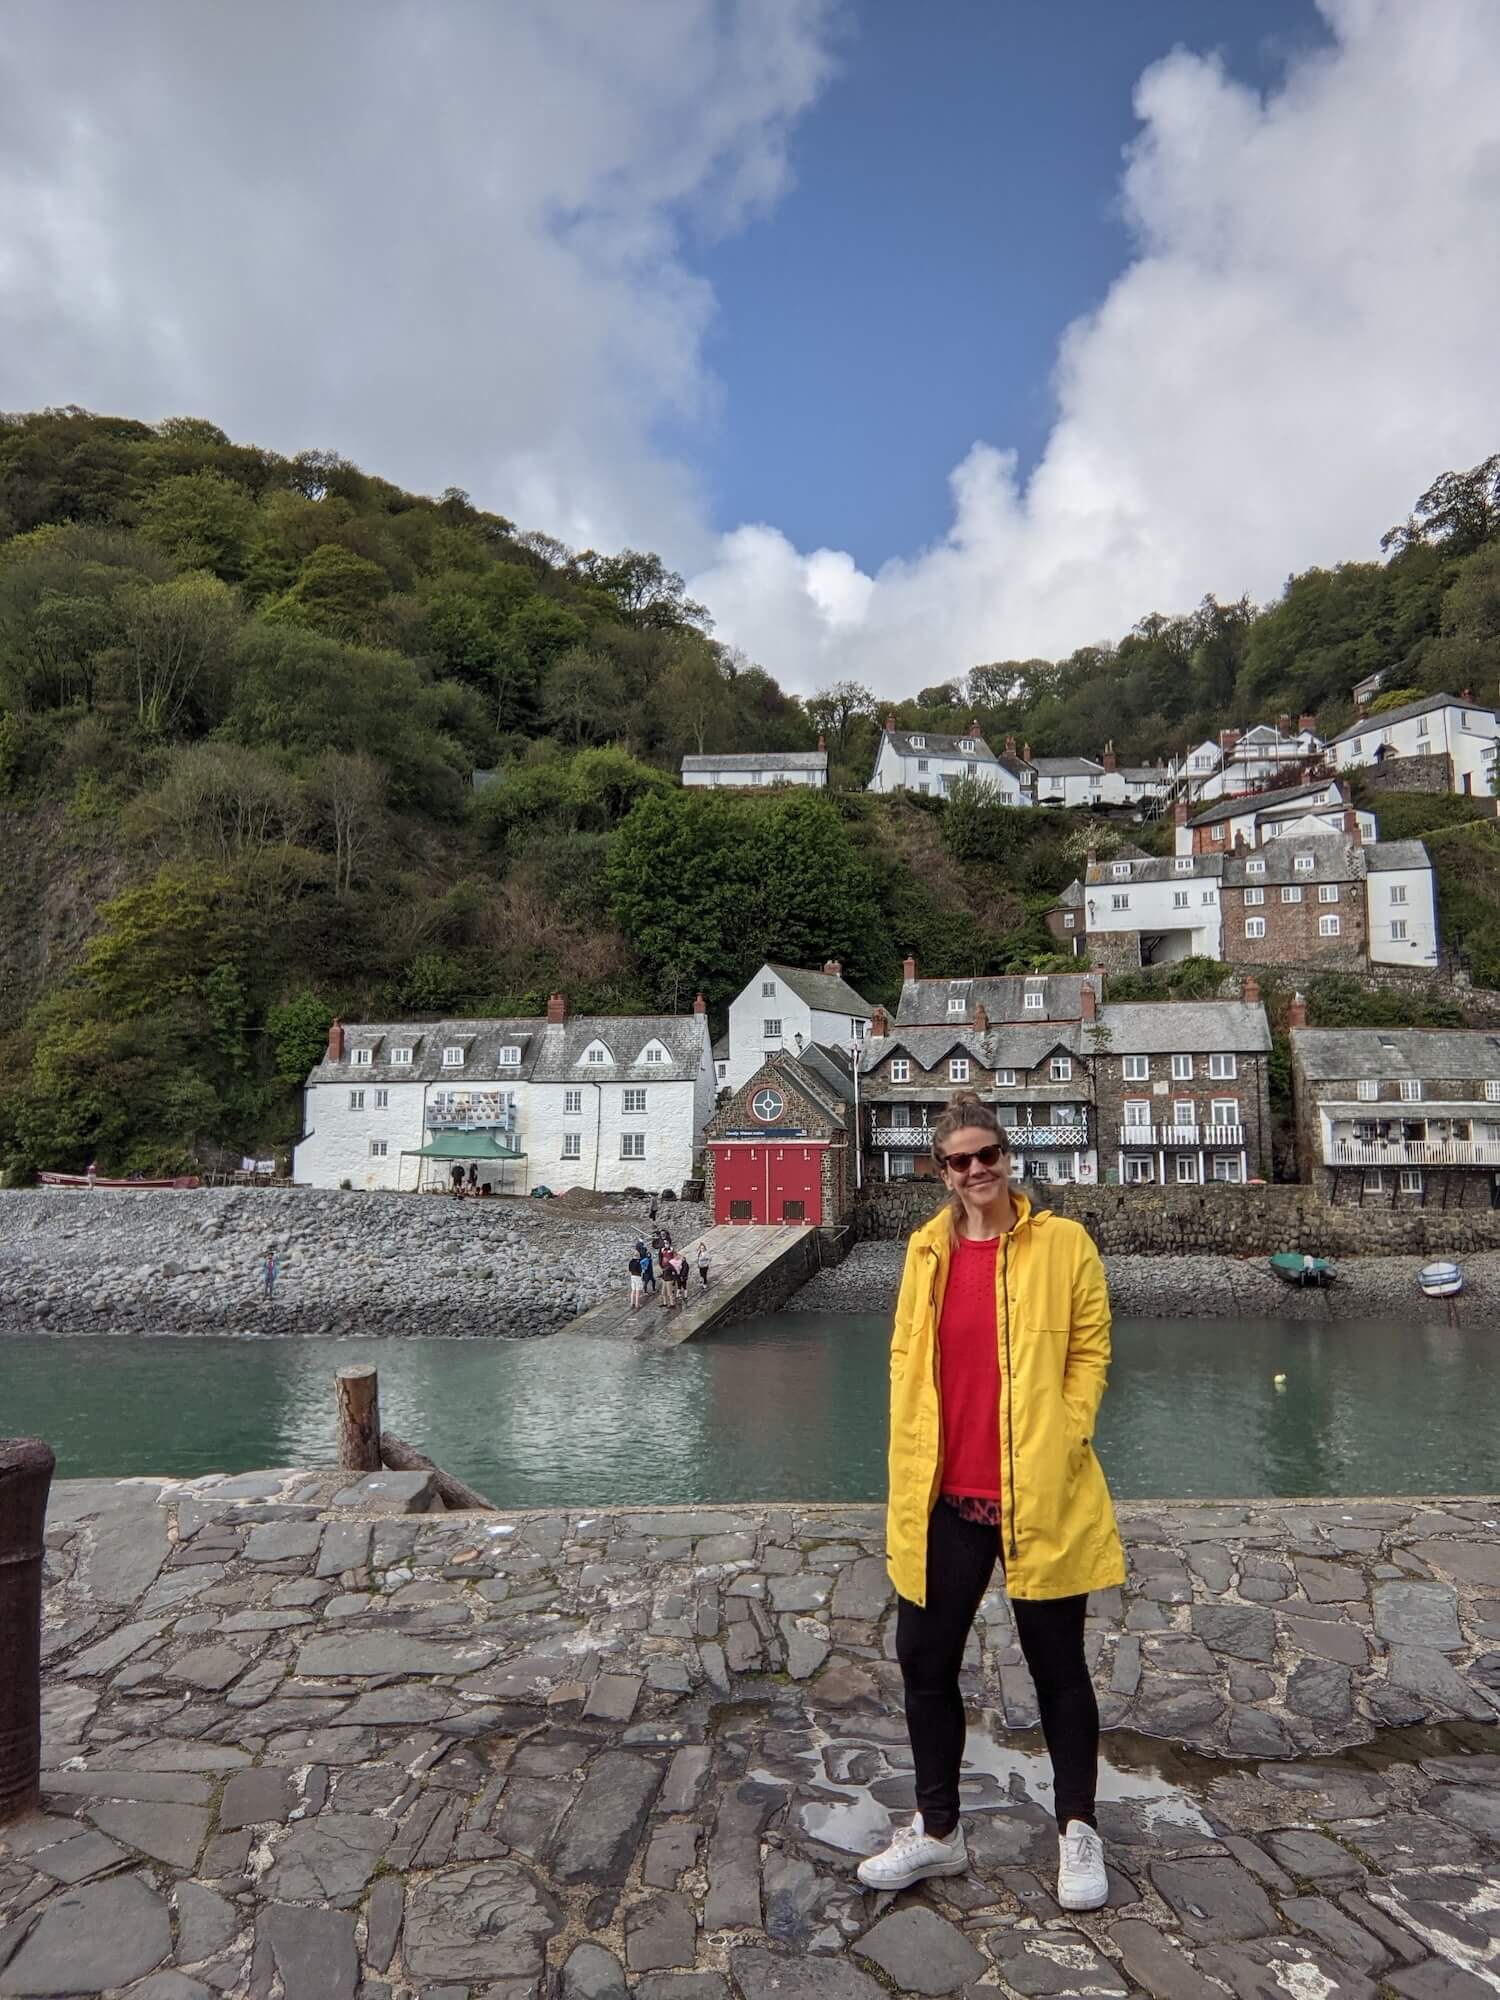
You’ll remember the feeling of watching the sunset, wandering the streets or eating incredible food far more than you’ll remember whether your arm looked slightly weird in one picture.
The best travel photos are the ones that remind you of a brilliant trip, not the ones that took an hour to stage.